

OsmocomBB
OsmocomBB
To compile osmocomBB for the target we need a GNU toolchain for ARM.
So first make sure u have this installed the toolchain
For Osmocombb we need to do the following
Getting and updating the source
For compiling and building osmocombb
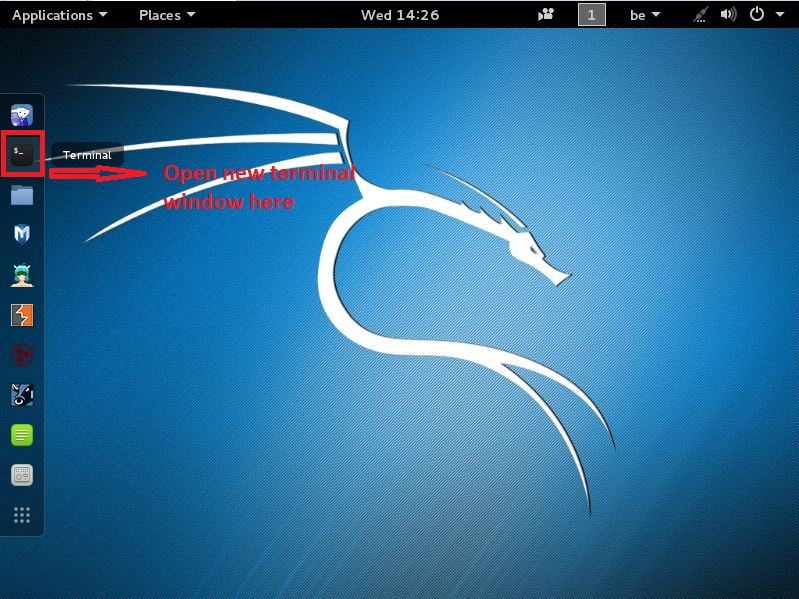
Open up a new terminal window
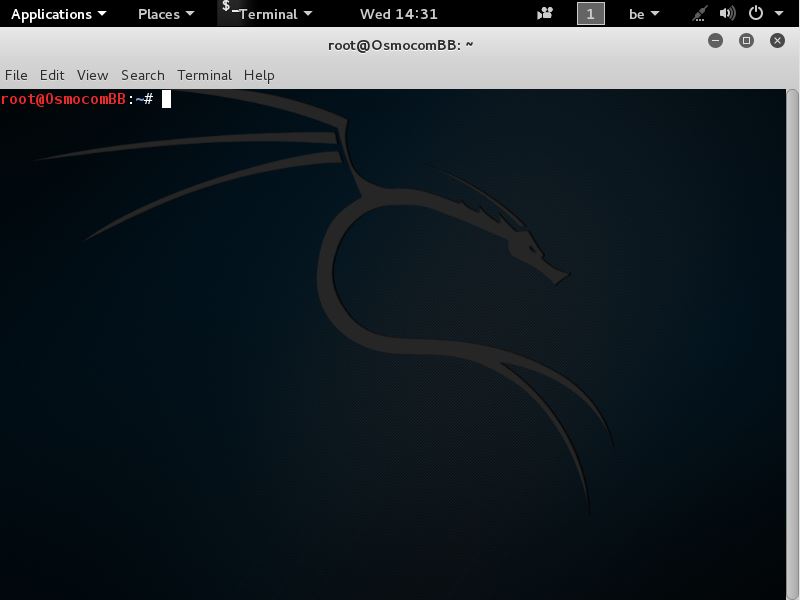
like this
and you should see this
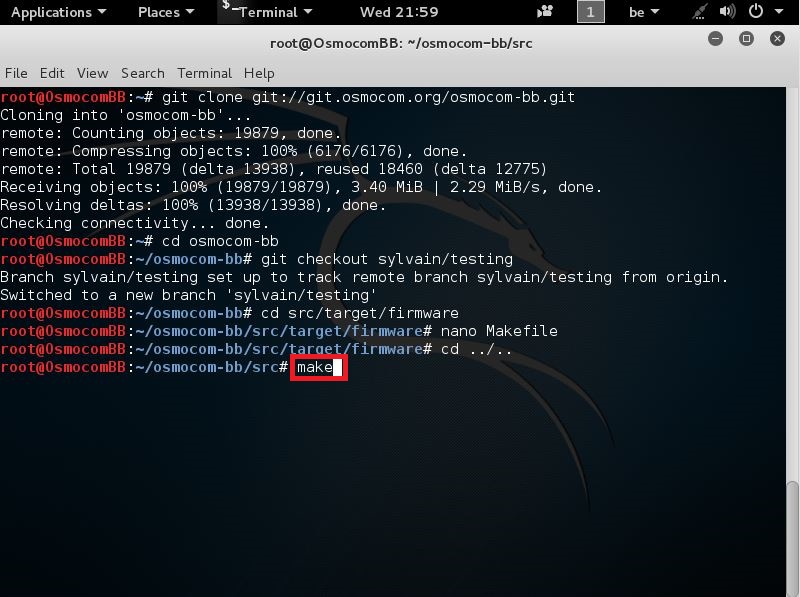
now that u have a terminal window open we are going to download Osmocombb from Github
To do this copy the following command
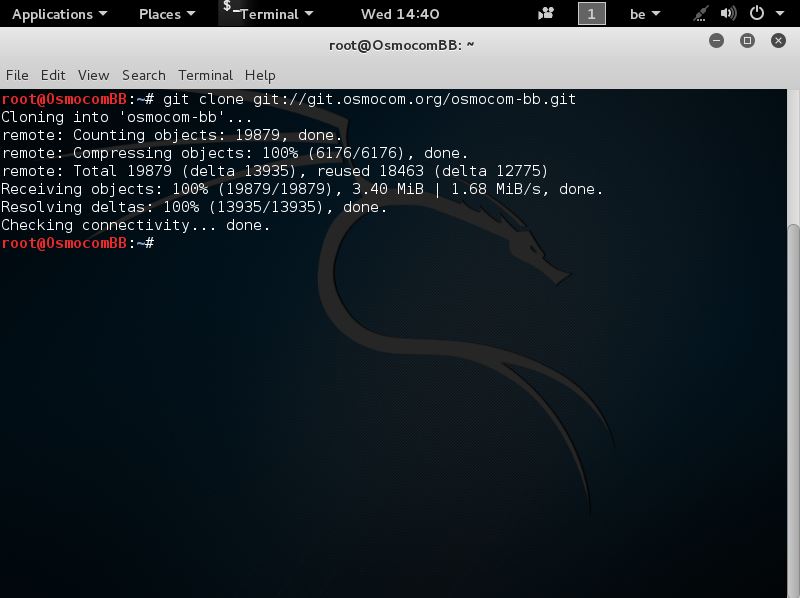
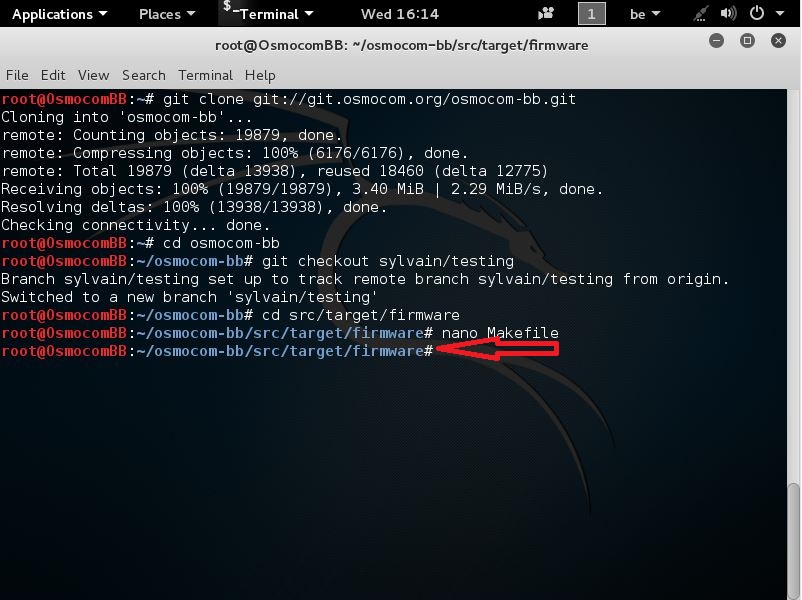
git clone git://git.osmocom.org/osmocom-bb.git
and paste it in the terminal window
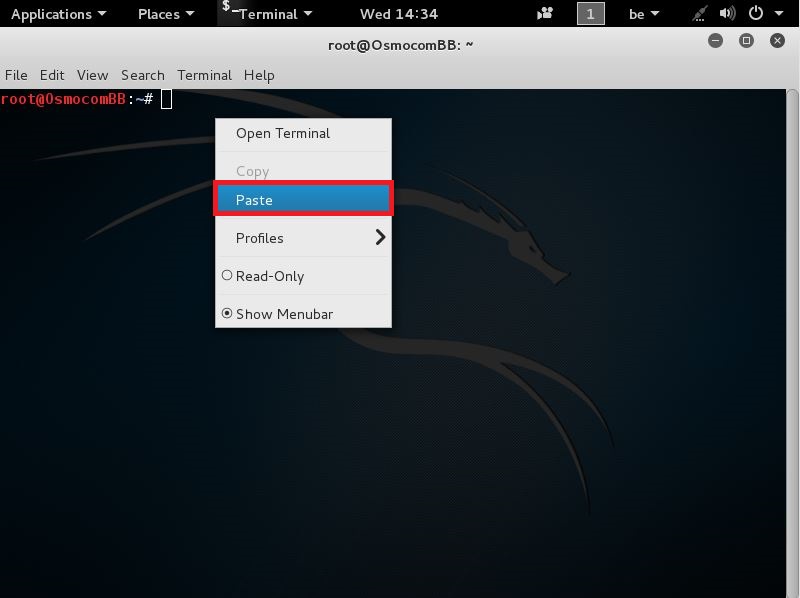
you should then get this
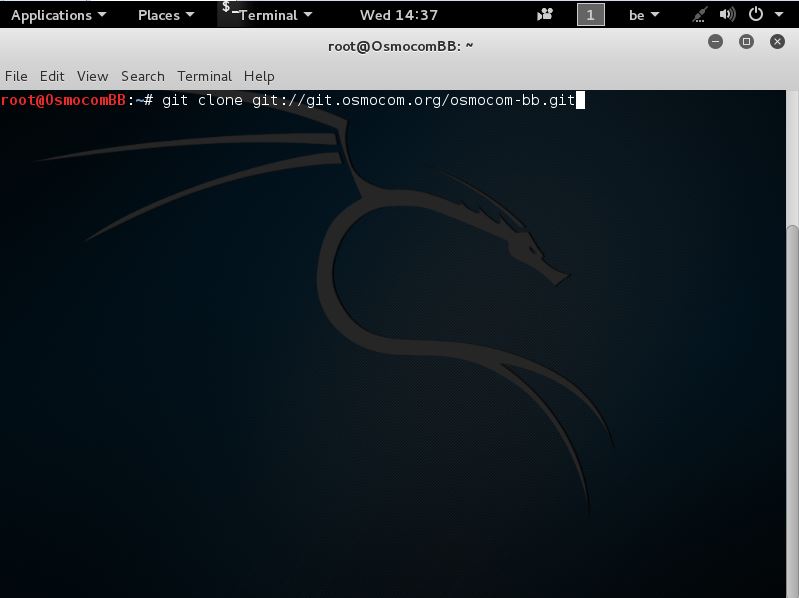
when u pasted it u can press Enter now
and see this
now that this is done we need to enter that Directory u do this by entering the following command
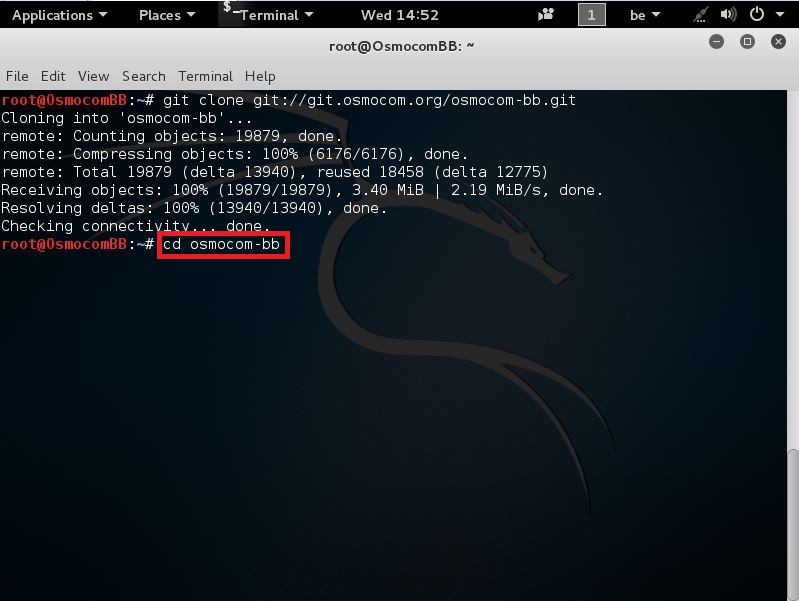
cd osmocom-bb
like seen here
now that u entered this command u can press Enter
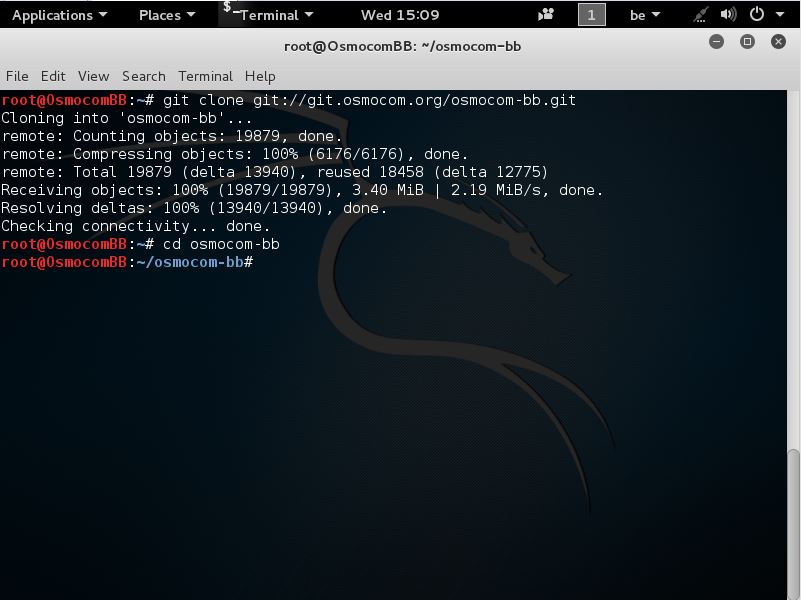
and should be here
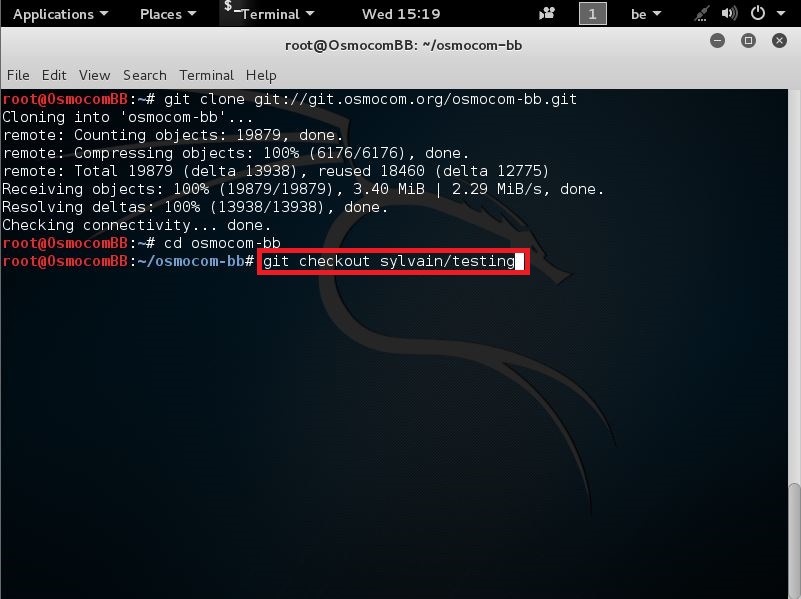
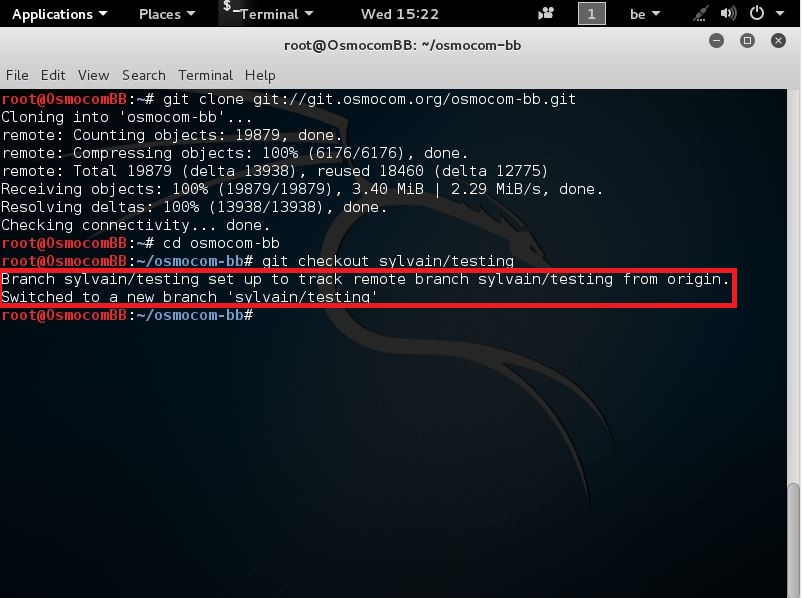
now that u are here we need to switch to the sylvain/testing branch
we do this by entering the following command:
git checkout sylvain/testing
like seen here
after u entered this command u can press Enter
and should see this
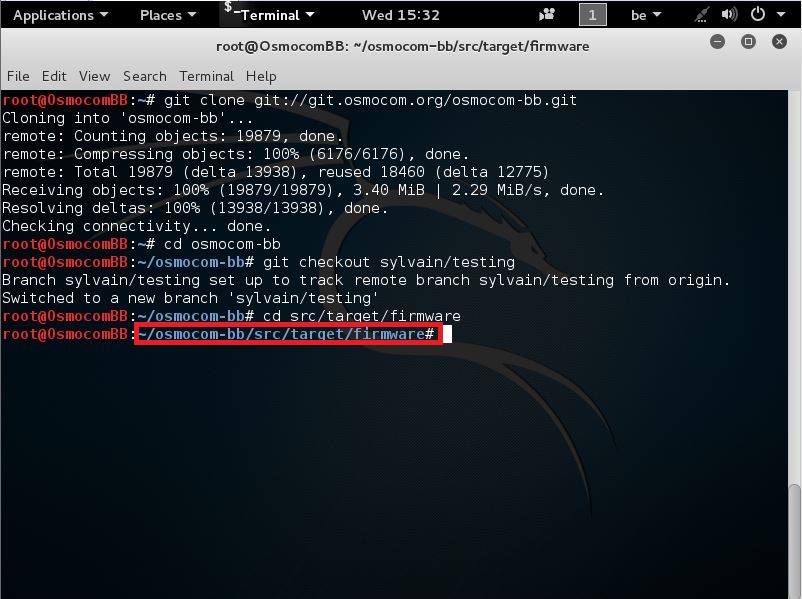
now that u switched to this branch we need to make an adjustment before building it
the adjustment is needed for enabling Transmit support (you can also build it without TX, but for OpenBTS we need TX support)
to do this do the following
enter this command:
cd src/target/firmware
like seen here

after that u can press Enter
and should be here
next we need to edit the Makefile that is located here
you do this by entering the following command:
nano Makefile
like seen here
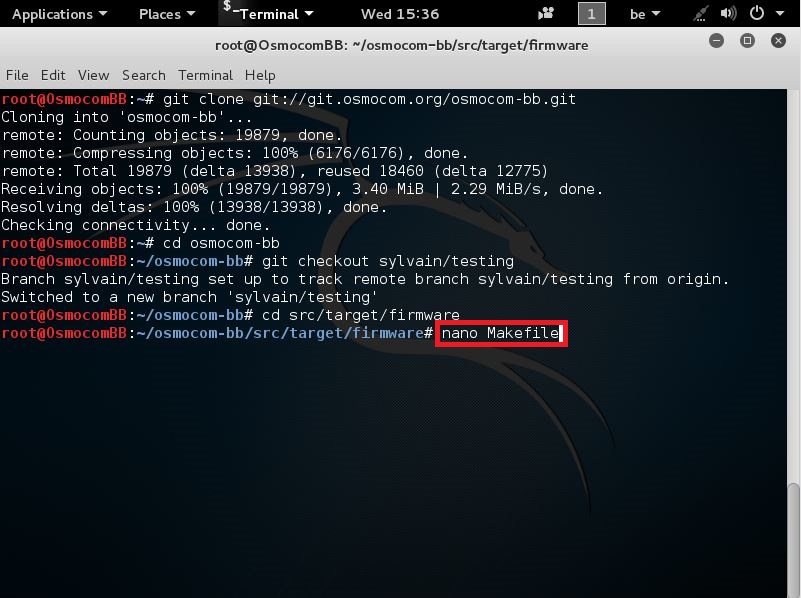
now that u entered this command press Enter
and you should come out here
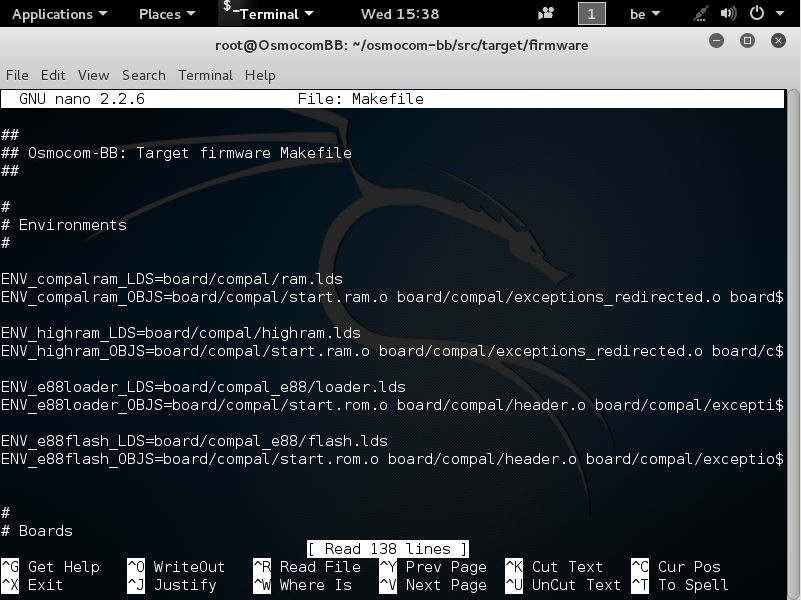
now that u have this file open
keep pressing the down arrow until u see this
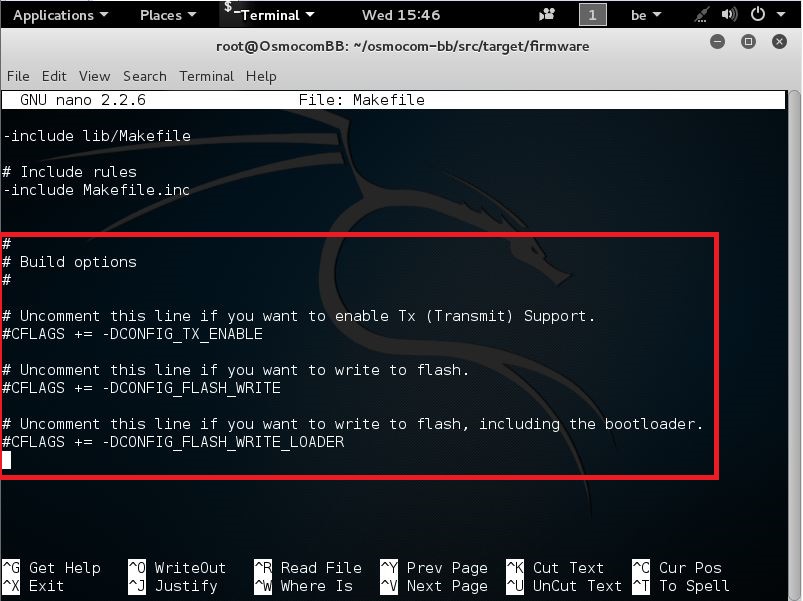
now that u see this we need to edit the following line
#CFLAGS += -DCONFIG_TX_ENABLE
you see that there is hashtag sign (#) before the line
we need to remove that
so move your cursor using the arrows on your keyboard until you are infront of the line
like seen here
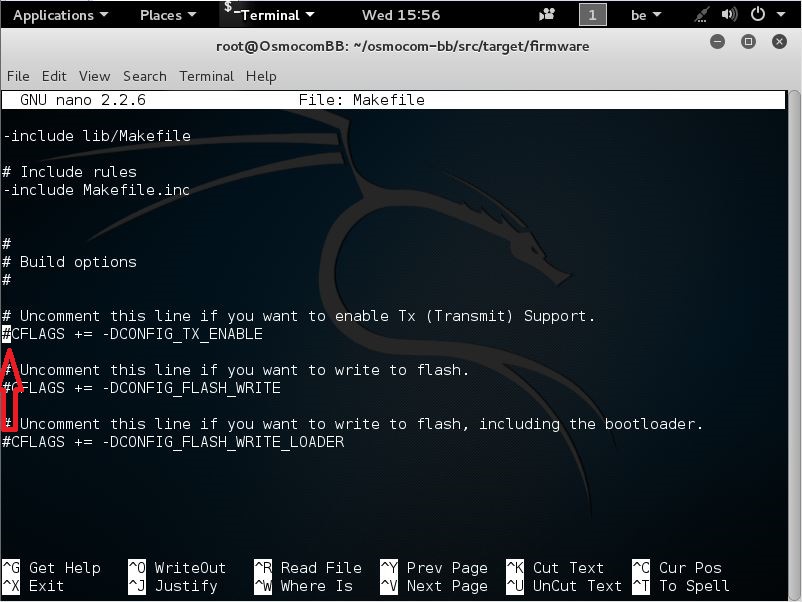
now press the Delete button on your keyboard to remove the hashtag sign #
and you should then have this
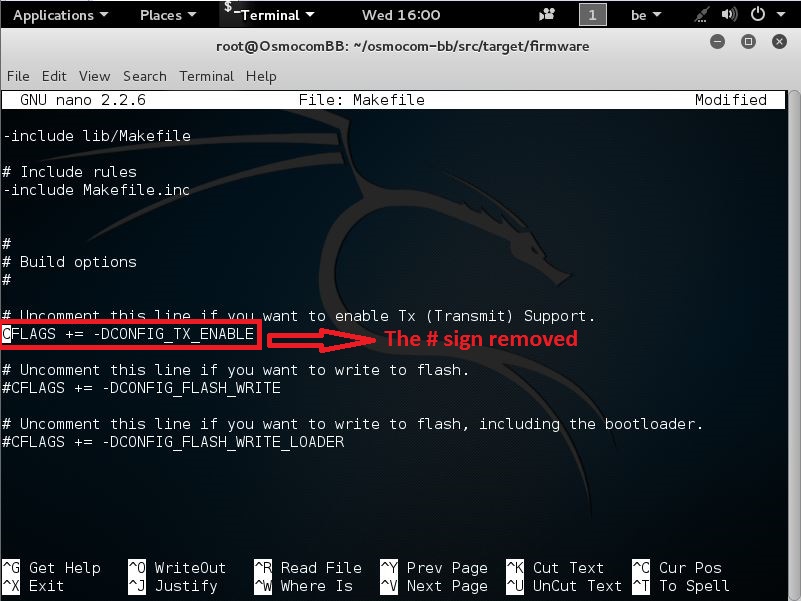
now that this is done we can save and close it
u do this by pressing
CTRL+X
and should then see this
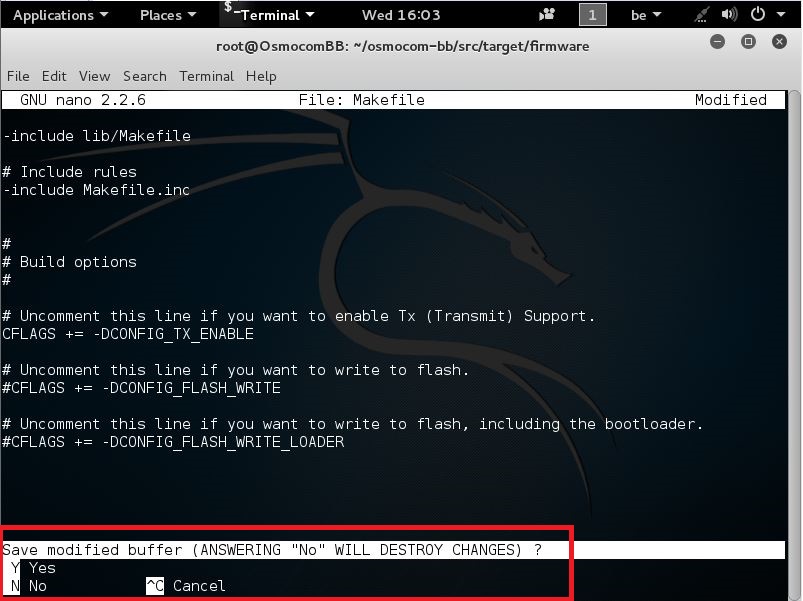
when you see this u need to press Y
and will see this
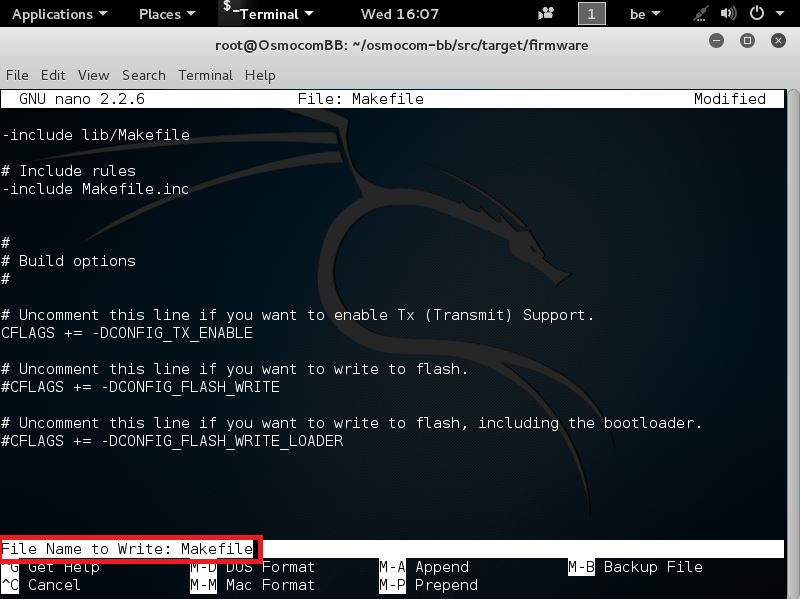
It now actually ask if u want to overwrite the original File
We want to do that
so just press Enter
and you should then come back here
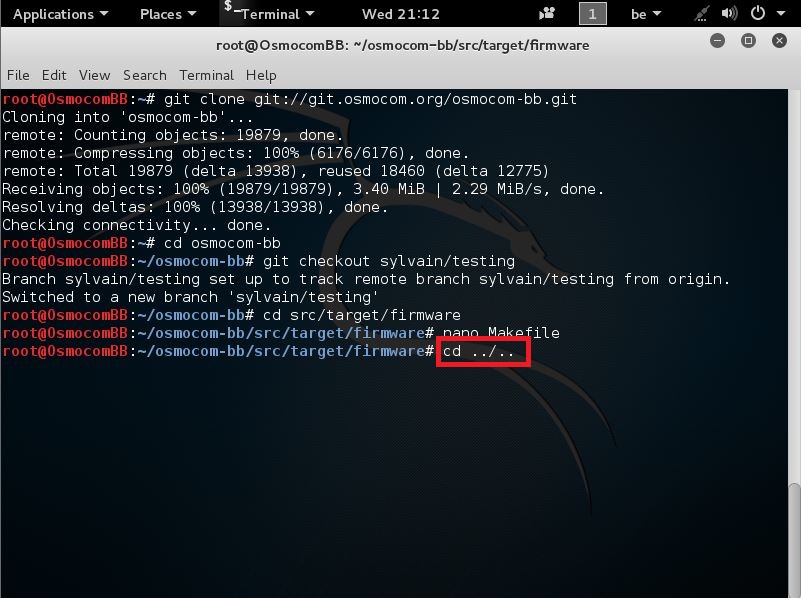
now that this is done we need to go back 2 directory’s so until your in back in the src folder
to do that we need to enter the following command into the same terminal window
cd ../..
like seen here
after u typed this command u can press Enter
and should come back out here
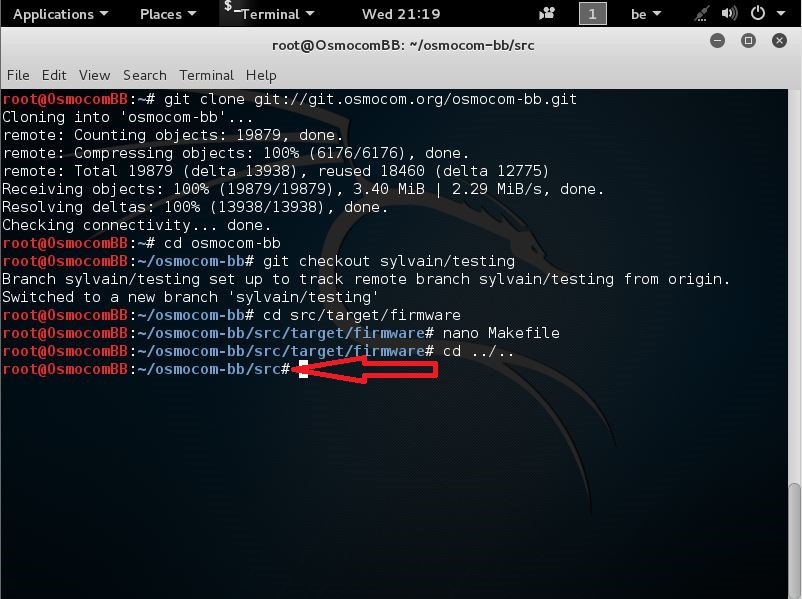
now that u are back here we can start building Osmocombb
we do this by entering the following command here
make
like seen here
after u typed this
u can press Enter
But i’m not going to show the whole list in screen shots because off the long list
but you should see the following when done!
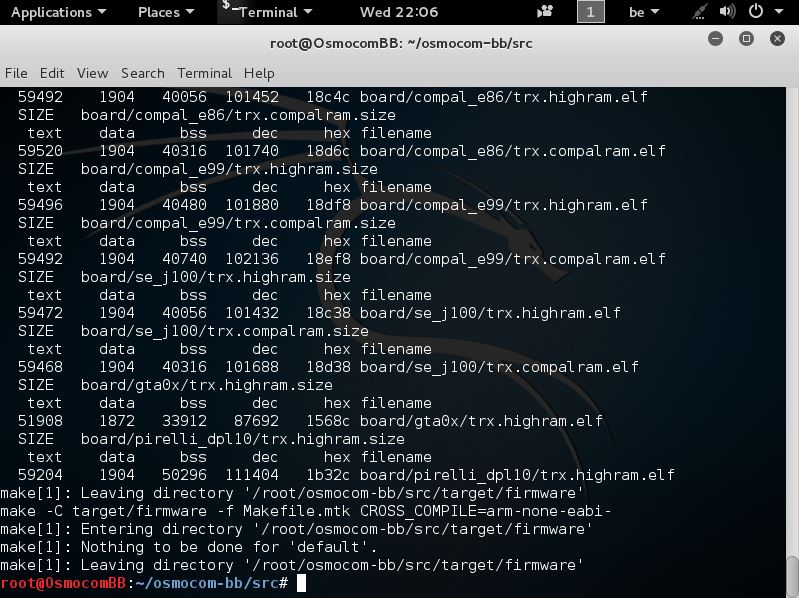
Congratulations
You just build OsmocomBB with TX support
u can also build it without TX support but for OpenBTS we need it with TX support since we need to Transmit out for OpenBTS
You can close this window now!
Transceiver
Next we need to build the transceiver
To do that we need some dependency first
So open up a new terminal window
and enter the following command:
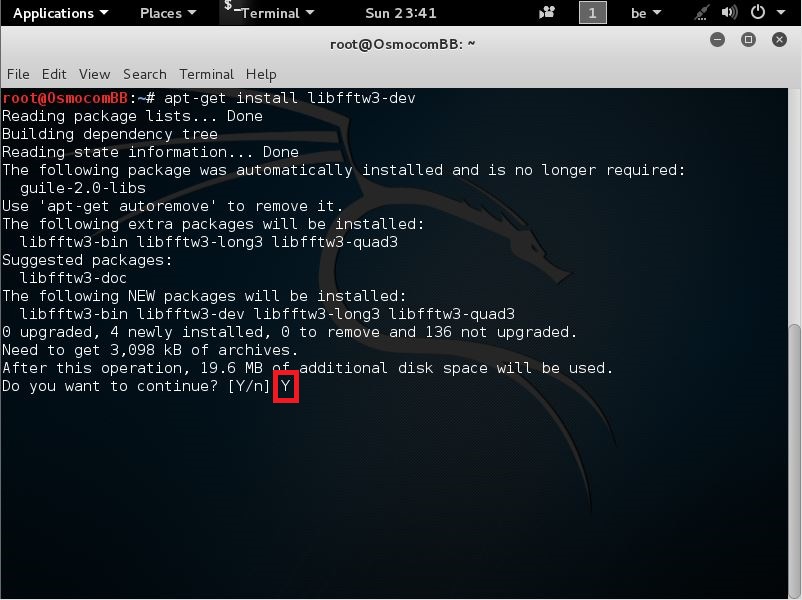
apt-get install libfftw3-dev
like seen here
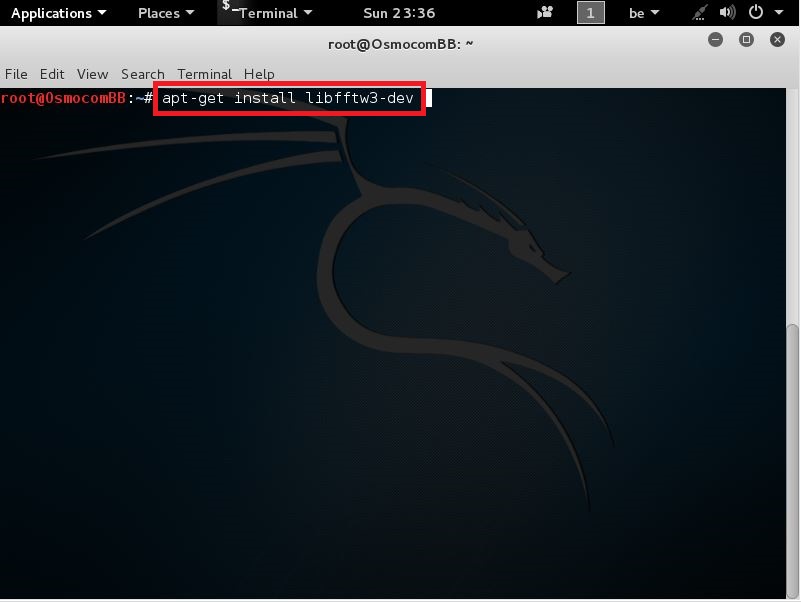
after u typed out that command u can press Enter
and should get this
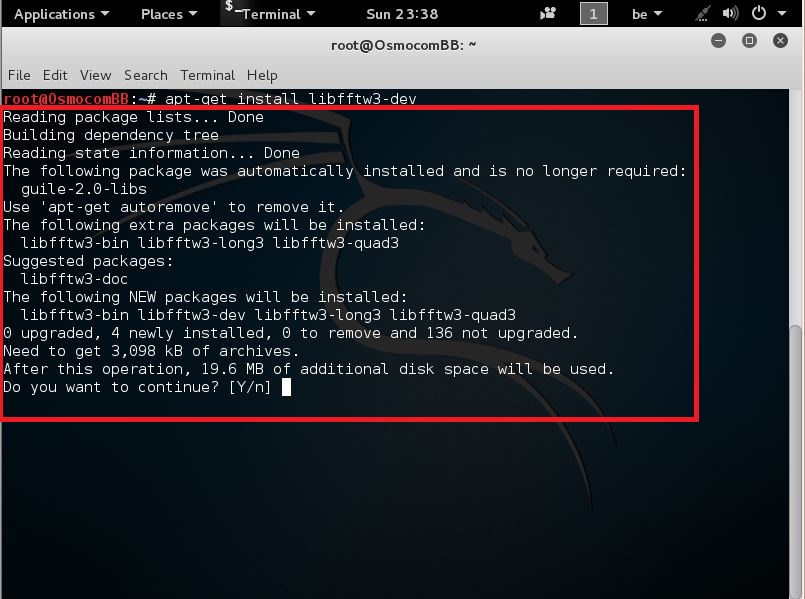
now that u see this u can press Y
like seen here
When thats done press Enter
and should then see this happening
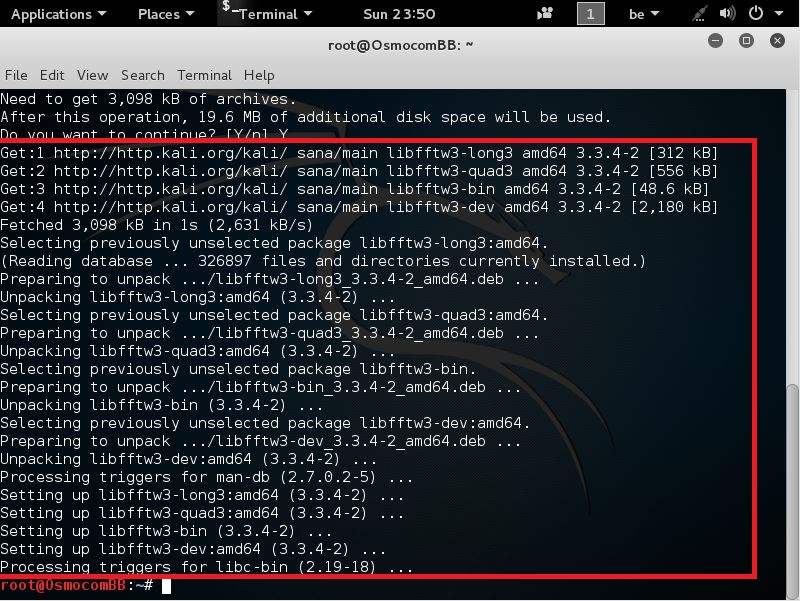
So this is done now
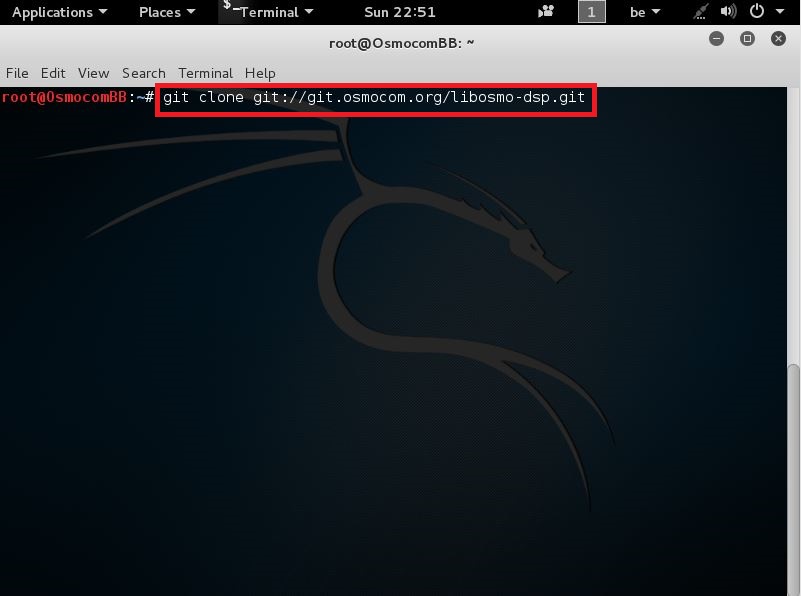
Next we need to
copy and paste the following command into the terminal window:
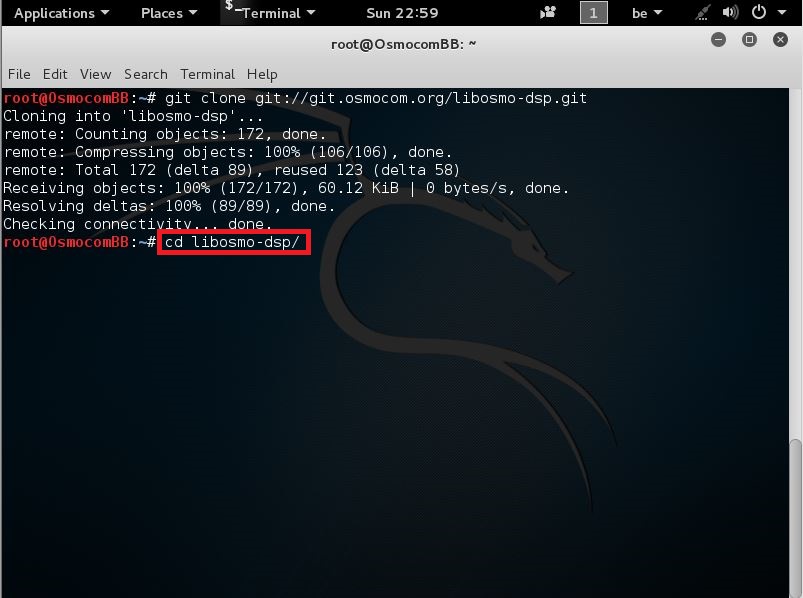
git clone git://git.osmocom.org/libosmo-dsp.git
like seen here
when u typed that command press Enter
and you should then see this
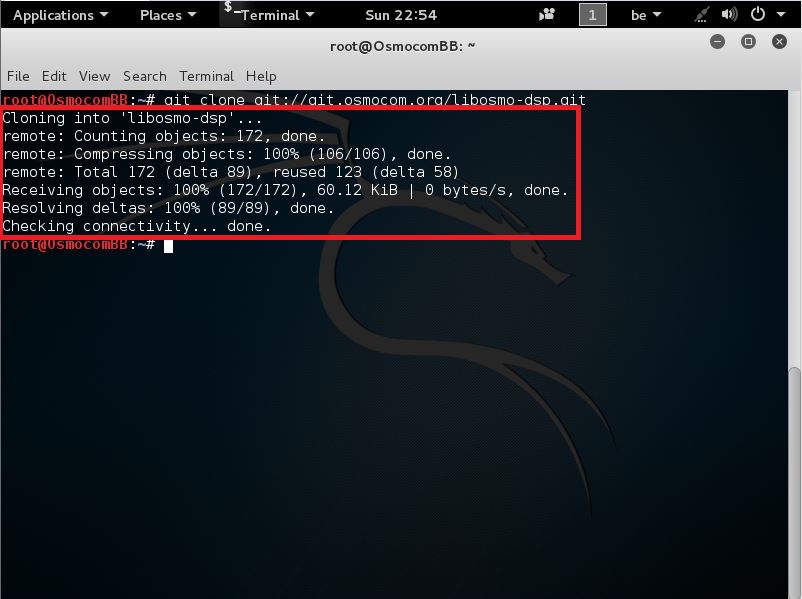
Now that this is done we need to enter that directory
you do this by typing the following command:
cd libosmo-dsp/
like seen here
when u typed out that command press Enter
and you should now be here
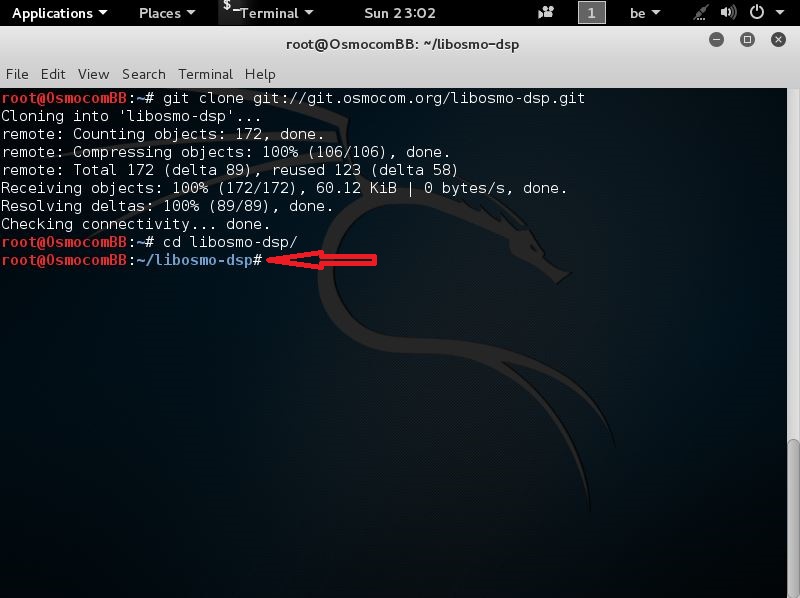
now that u entered this directory, we need to build it
we start off by running the following command:
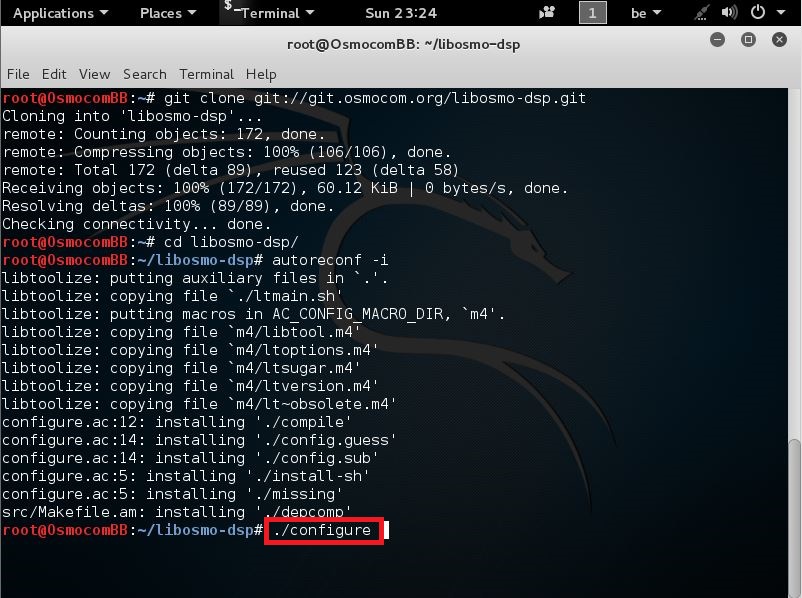
autoreconf -i
like seen here
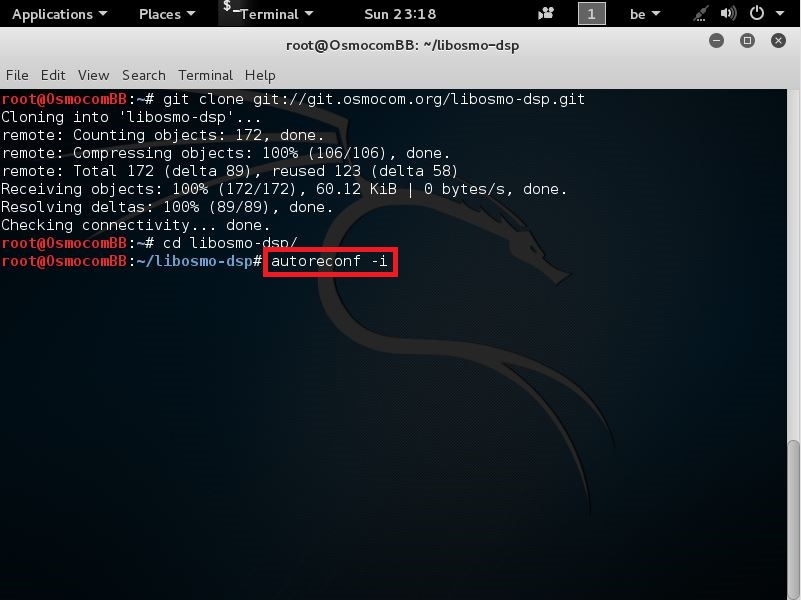
after u typed out this command you can press Enter
and should then see this
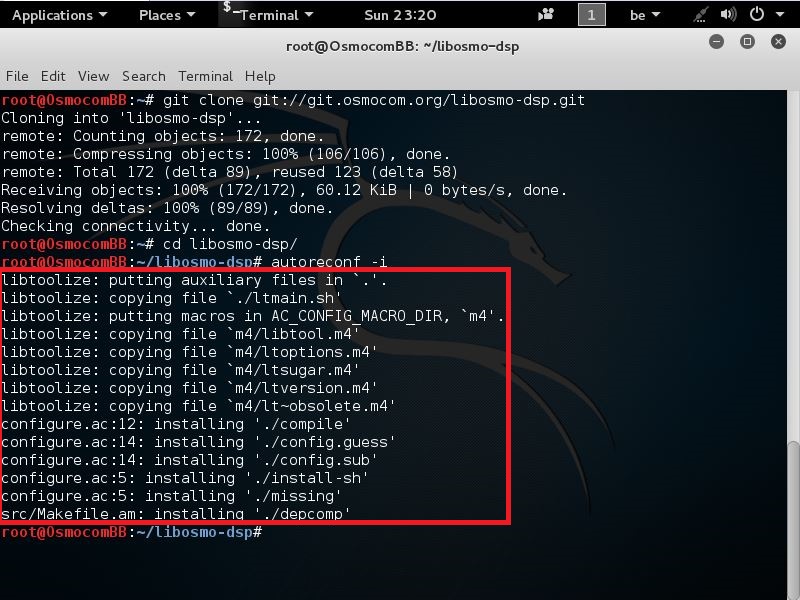
now that is done we need to run the next command
that is:
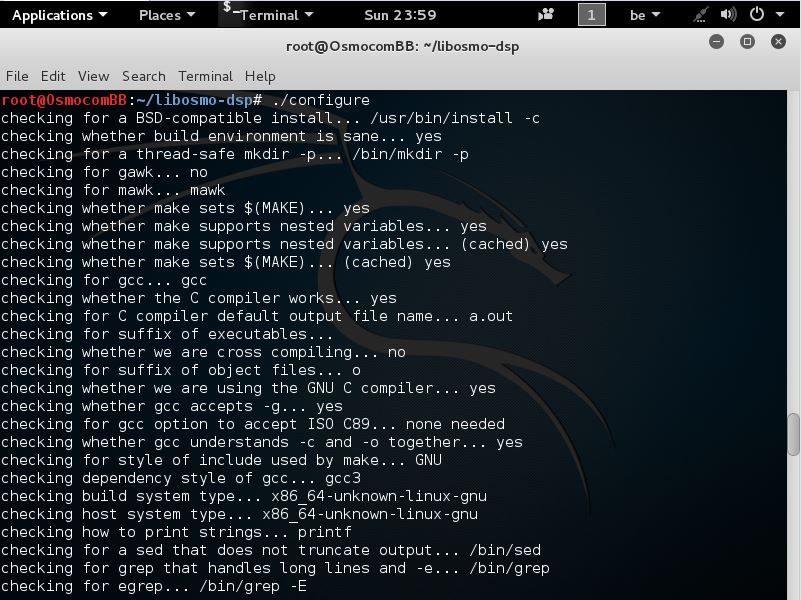
./configure
like seen here
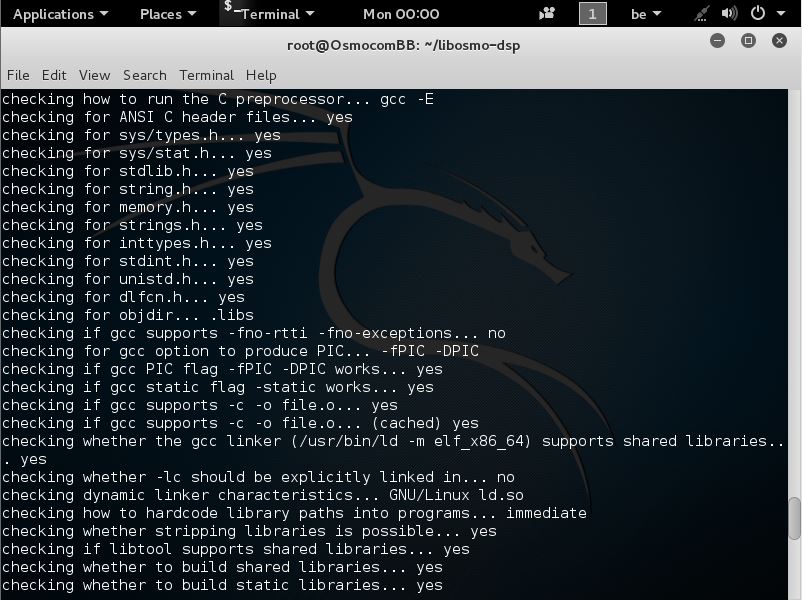
after u typed that command press Enter
and should then see this

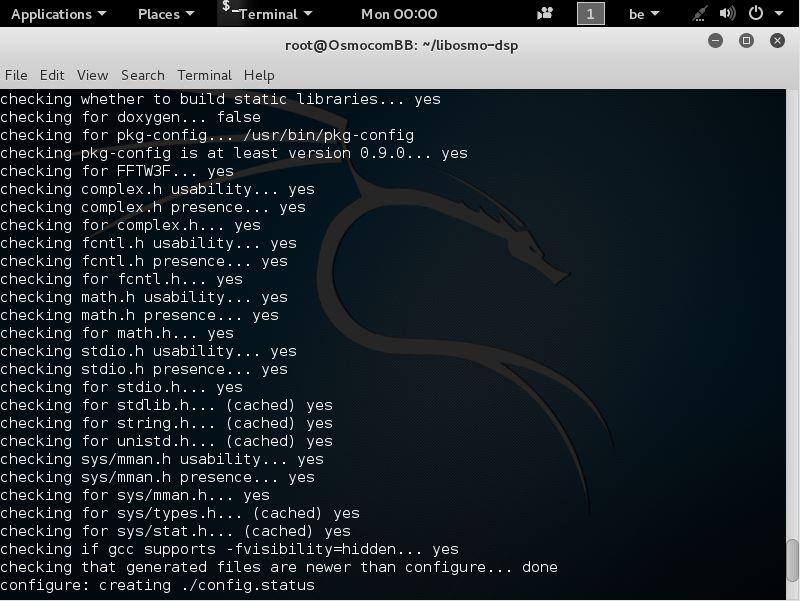
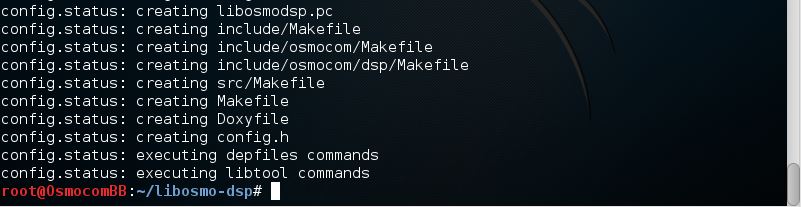
now that the configure command is done
we need to run the next command that is :
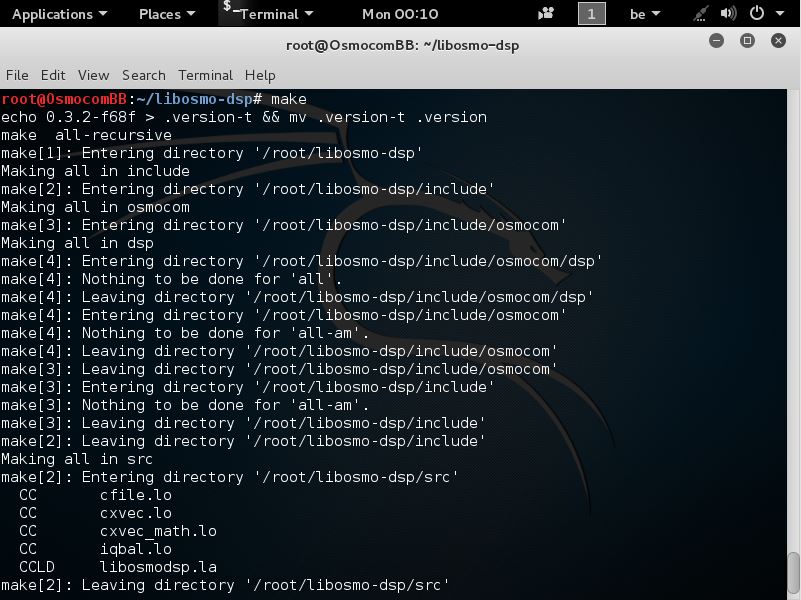
make
like seen here
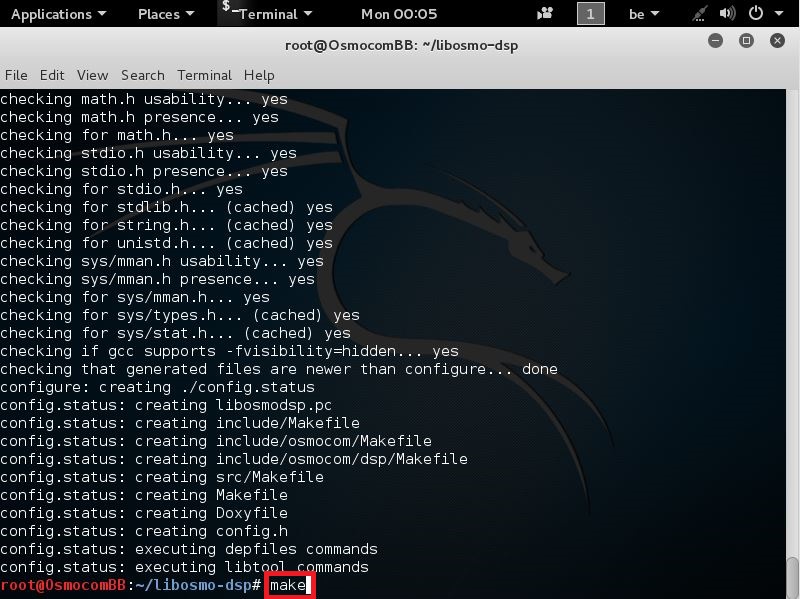
when u typed out this u can press Enter
and should see this

now that the make command is done we need to install it
you do this by entering the following command:
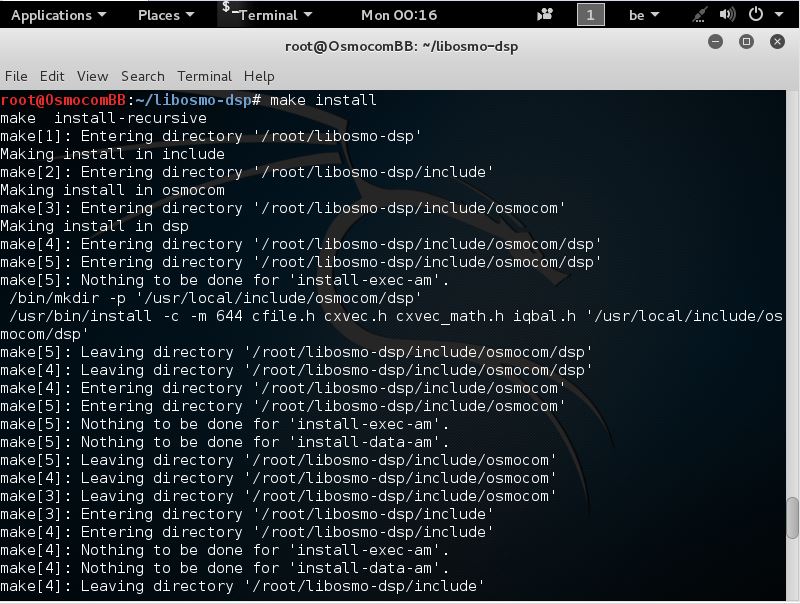
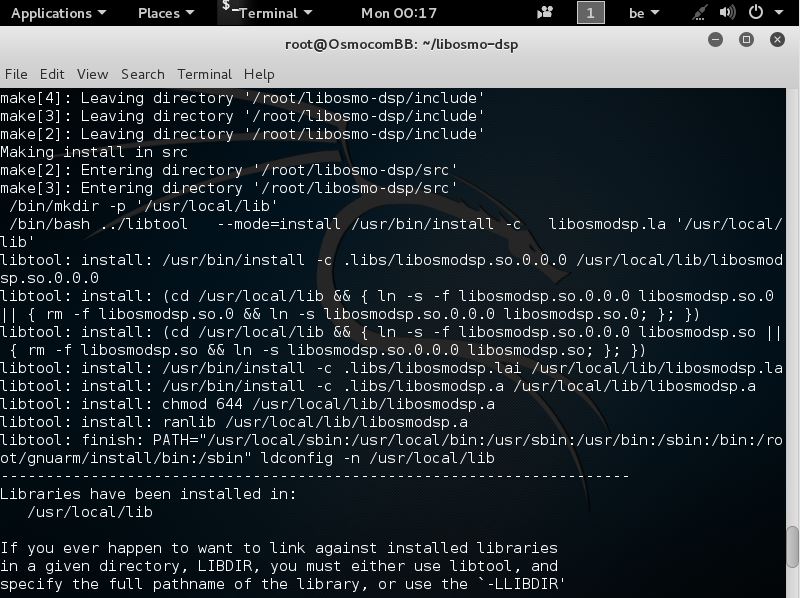
make install
like seen here
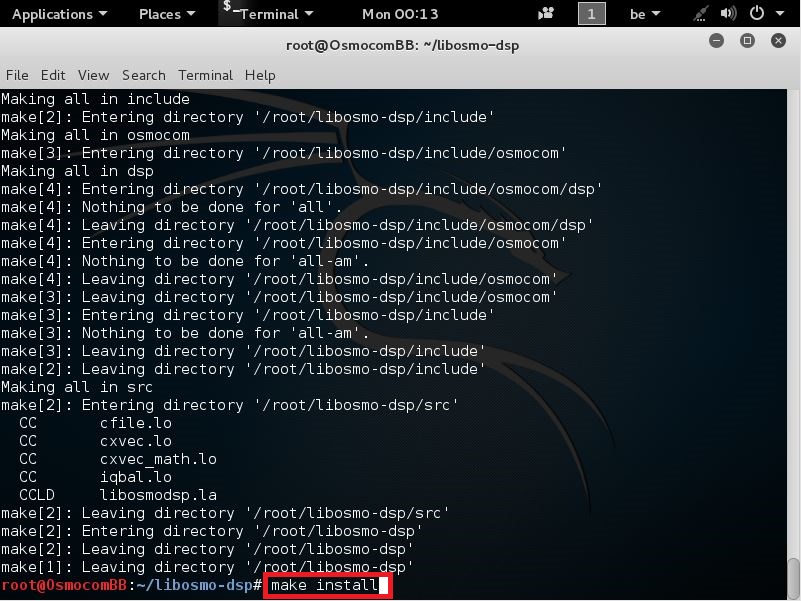
now when u typed this u can press Enter
and should see all this happening
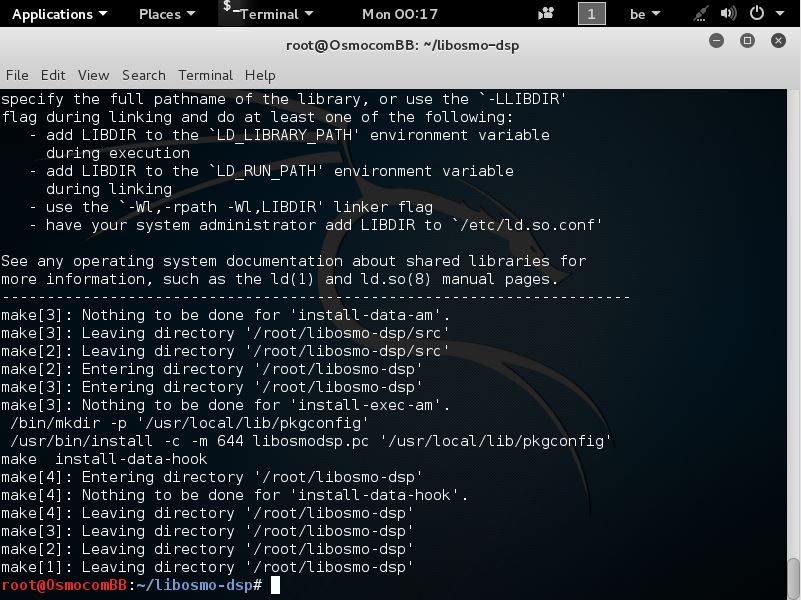
now that this is done we need to go back to the root directory
so from this location we need to go back one directory
u do this by entering the following command:
cd ..
like seen here
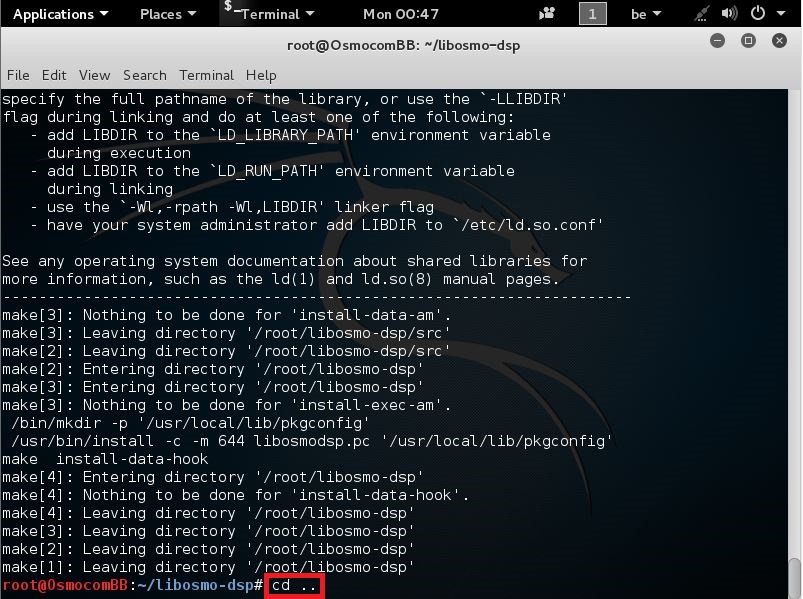
now that u typed this command press Enter
and you should then be here again

now that u are here again, we need to go back to the osmocom-bb directory
more specific to the /osmocom-bb/src/host/layer23 directory
cause now we only need to re-make that directory, since we build the rest already in the previous steps!
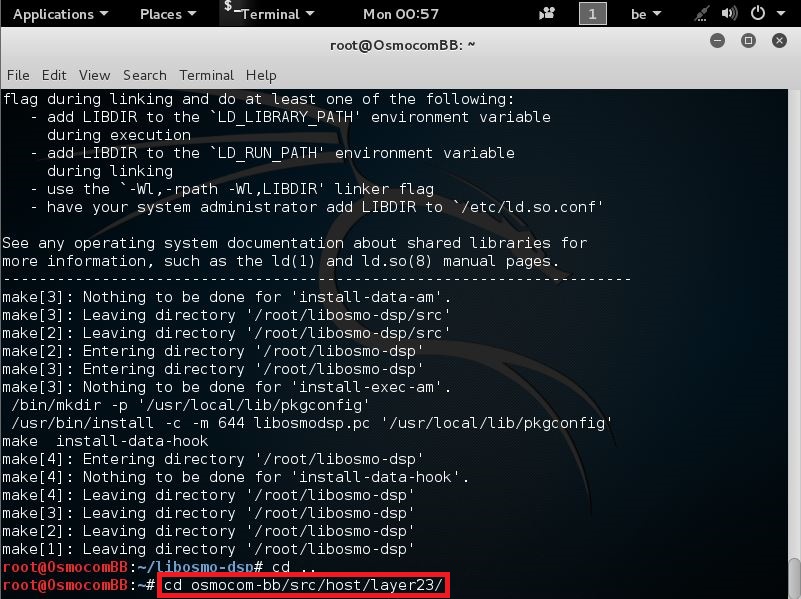
so enter the following command:
cd osmocom-bb/src/host/layer23
like seen here
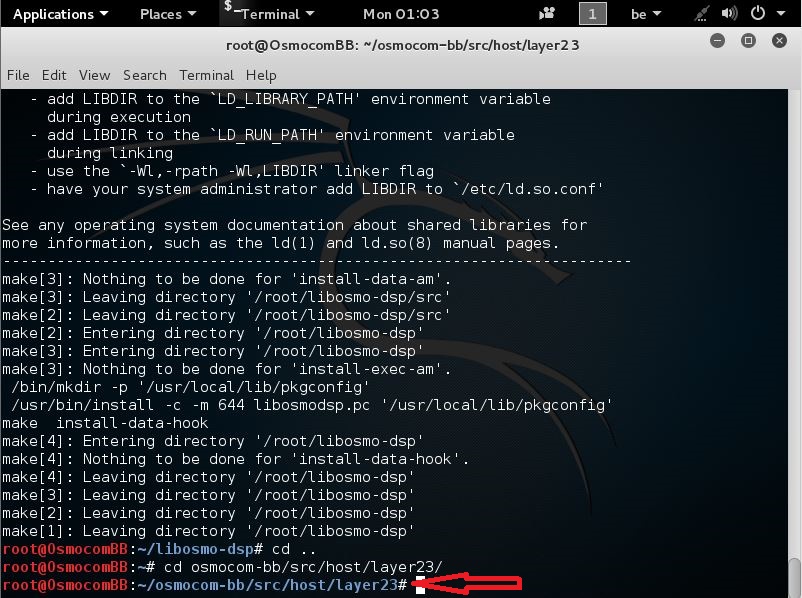
when you entered that command you can press Enter
and should then be here
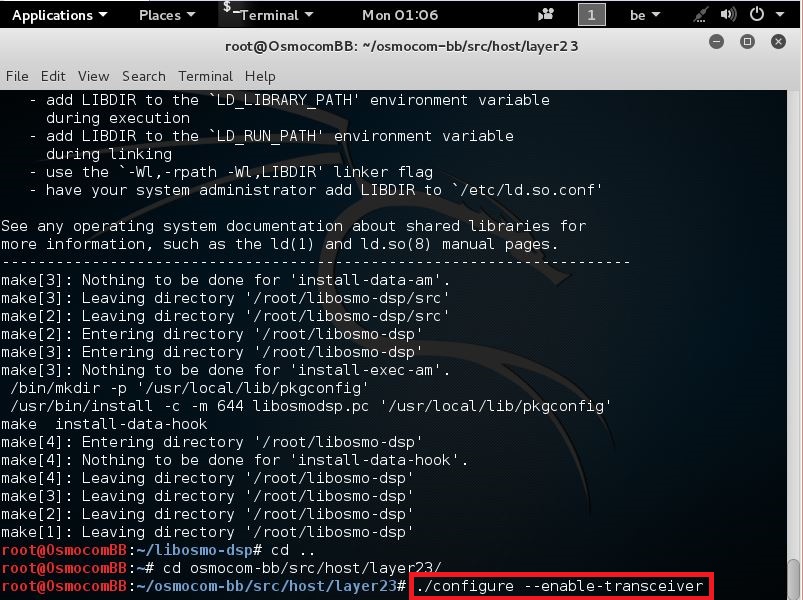
now that u are in that location we need to configure it with transceiver mode enabled
you do this by entering the following command:
./configure --enable-transceiver
like seen here
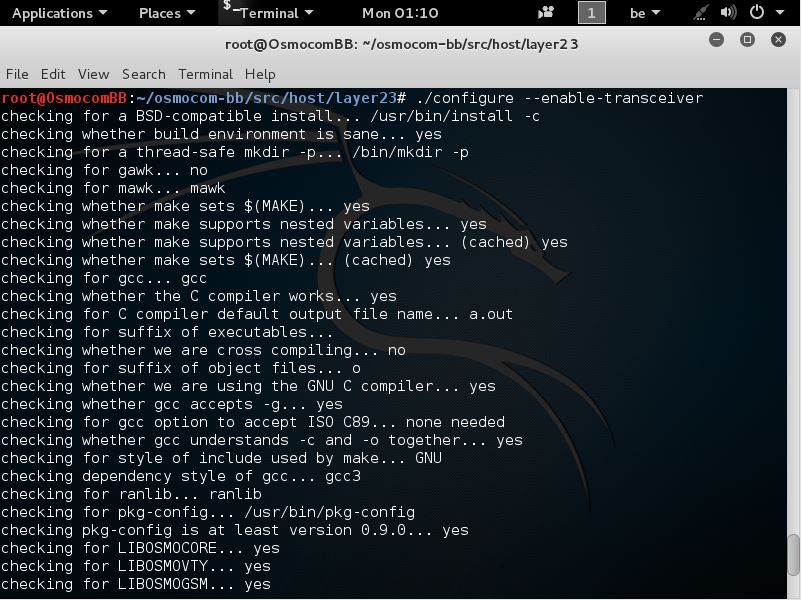
after u pasted that command u can press Enter
and should see this
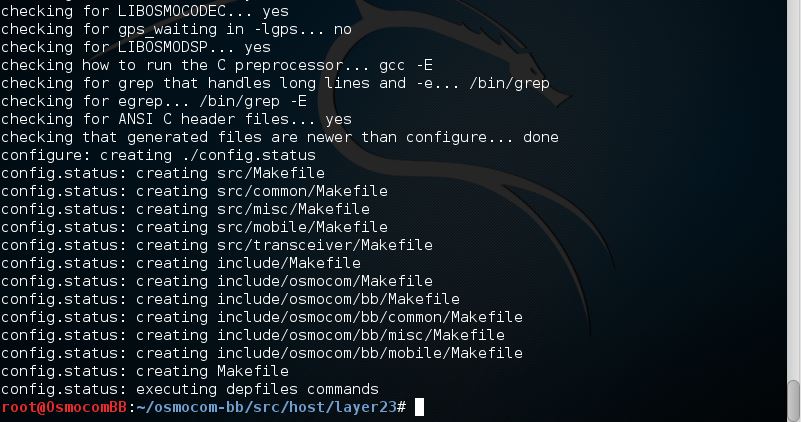
now that this is done we need to run one more command
that command is :
make
like seen here
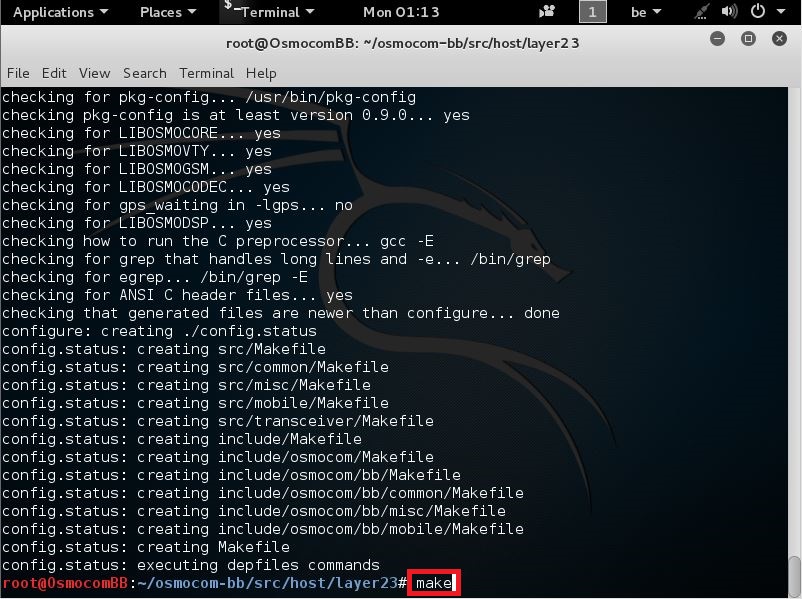
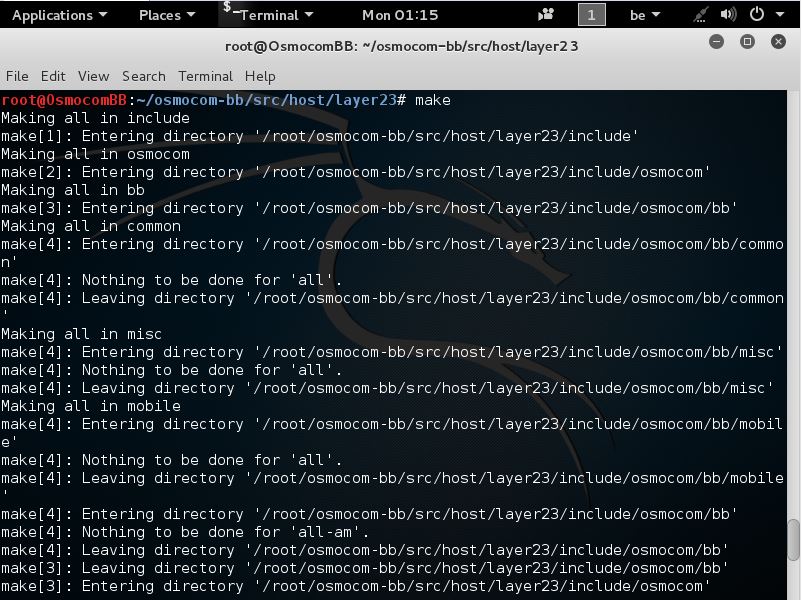
when u entered that command u can press Enter
and should see this happening
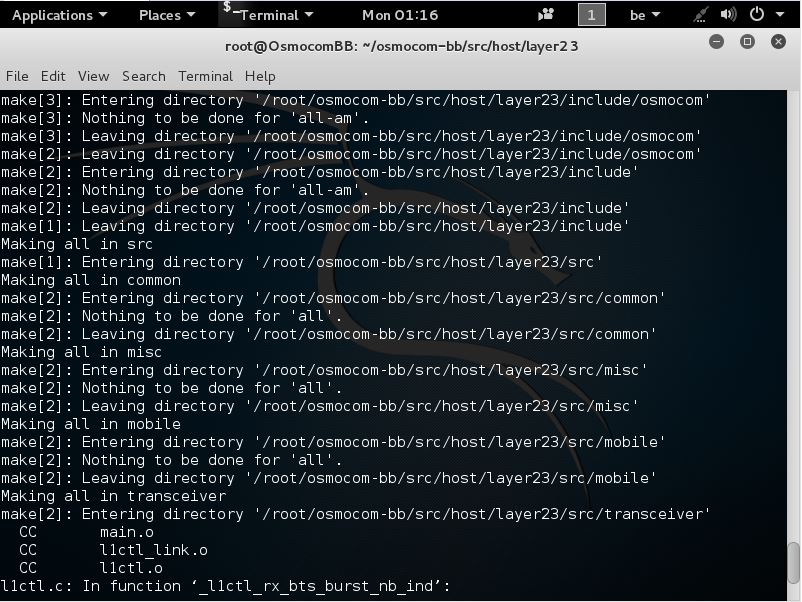
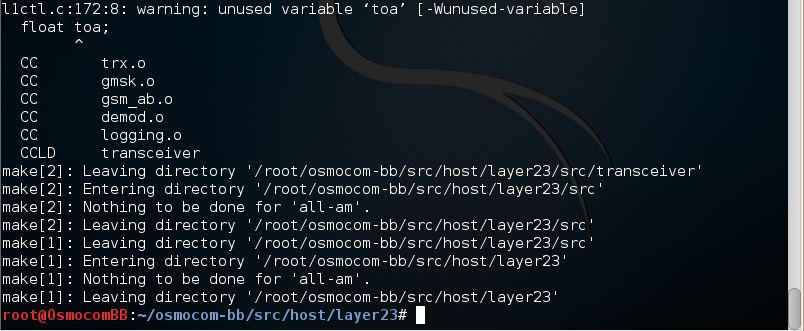
Congratulations
You are now done building the transceiver in osmocom-bb