

Uncategorized
Setup a IMSI-Catcher with a HACKRF in Kali linux
First what is a IMSI Catcher.
An IMSI-catcher is a program that shows you IMSI numbers, country, brand, and operator of cellphones around you.
The IMSI is used in any mobile network that interconnects with other networks.
An IMSI is usually presented as a 15-digit number but can be shorter.
But if you want to learn more about what it exactly is u can read more about it HERE.
So let’s get things setup.
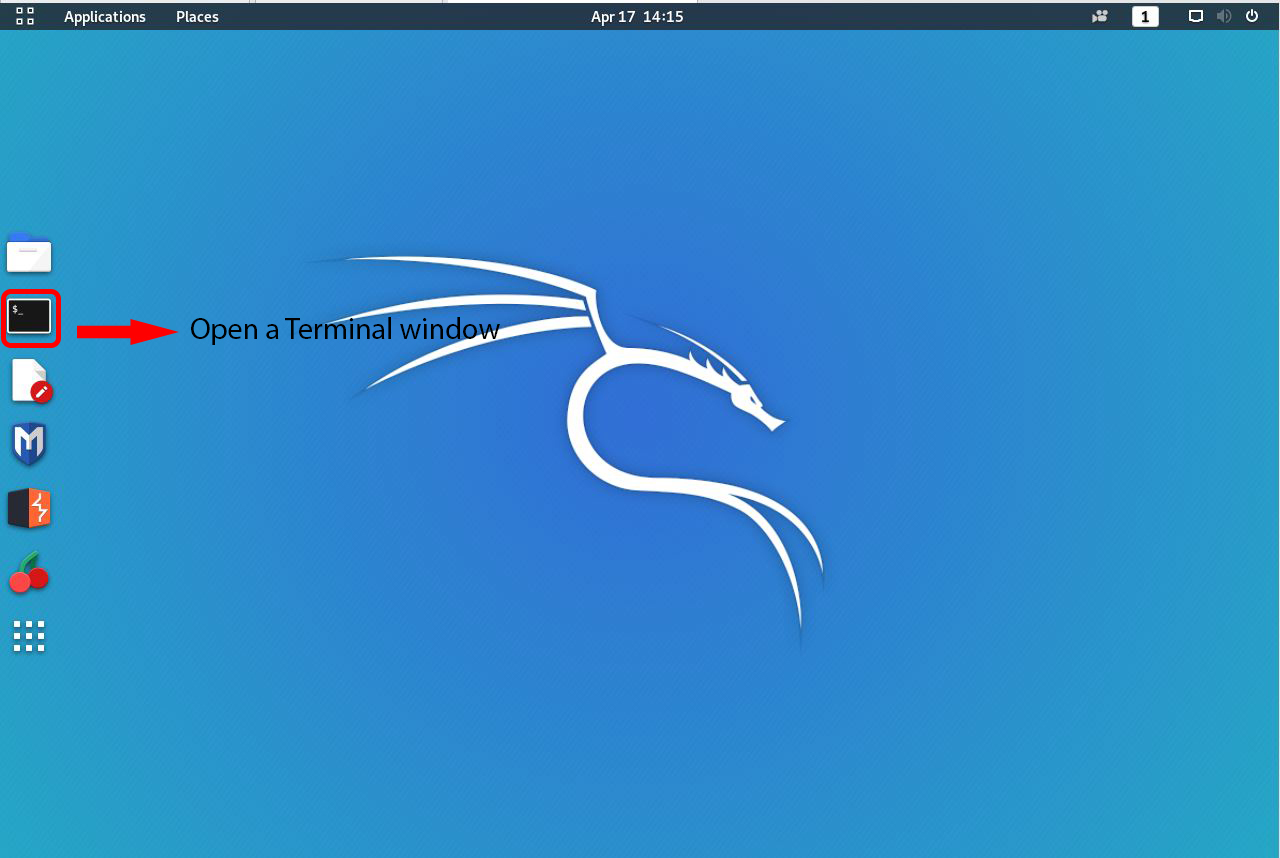
Step One:
Open a terminal window
Step Two:
Copy the following lines and paste them into the terminal window.
sudo apt-get install -y cmake autoconf libtool pkg-config build-essential libcppunit-dev swig doxygen liblog4cpp5-dev python3-docutils python3-scipy gnuradio-dev gnuradio libgmp-dev libboost-regex-dev liborc-dev libosmocore-dev gr-osmosdr librtlsdr-dev libtevent-dev python3-talloc-dev libtalloc-dev libtalloc2 python3-talloc

And after u pasted that into the terminal windows u can press ENTER
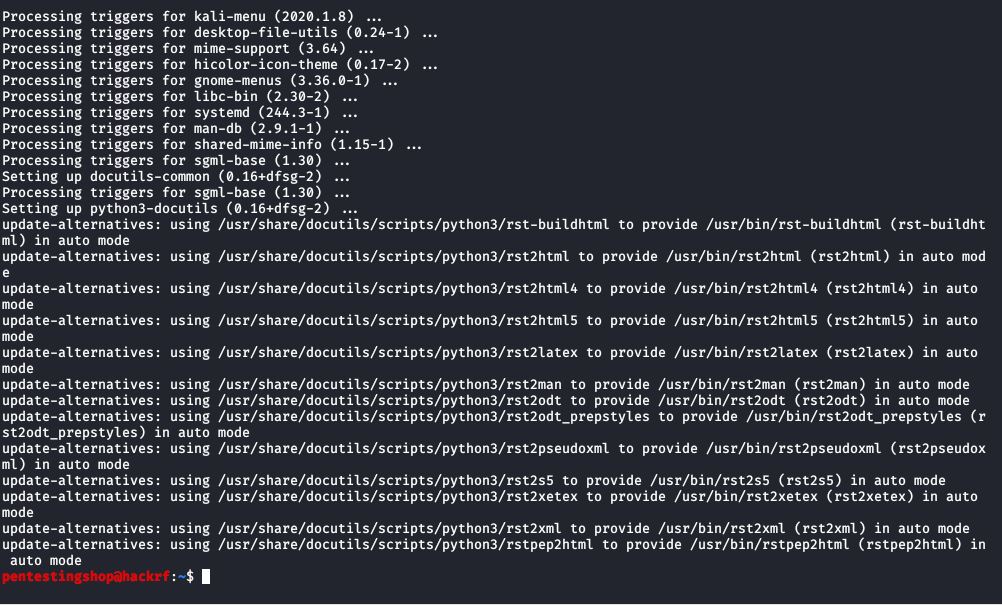
after that it starts installing all the needed tools u need to get everything working.
And once finished u should see something like this:
Installing GR-GSM
For installing gr-gsm we are going to clone the following git repository.
So copy and paste this into your terminal window.
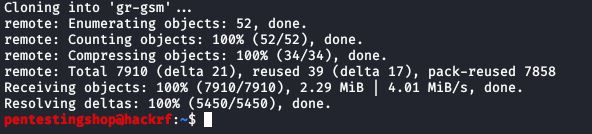
git clone -b maint-3.8 https://github.com/velichkov/gr-gsm.git

and press ENTER.
U should then see this:
next go into that directory with the following command:
cd gr-gsm/

and press ENTER.
u shlould now be in the directory.

Now we need to create a directory for making the build.
U this this with the following command:
mkdir build

and press ENTER
now we need to go into that directory with the following command:
cd build/

and press ENTER.
u should now be here:

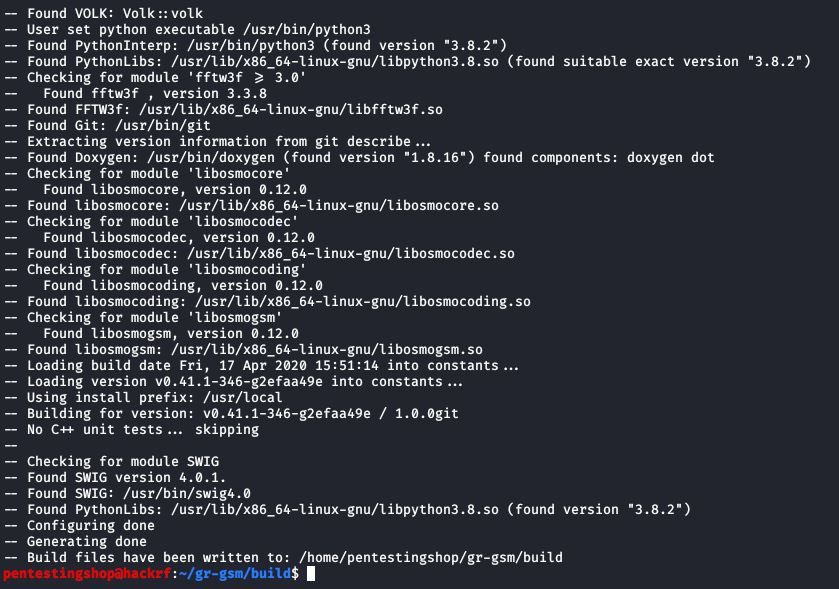
next we are going to start making the files with cmake, so run the following command:
cmake ..

and press ENTER.
u should see then something like this when it’s finished.
after that we can now make all the files with the next command:
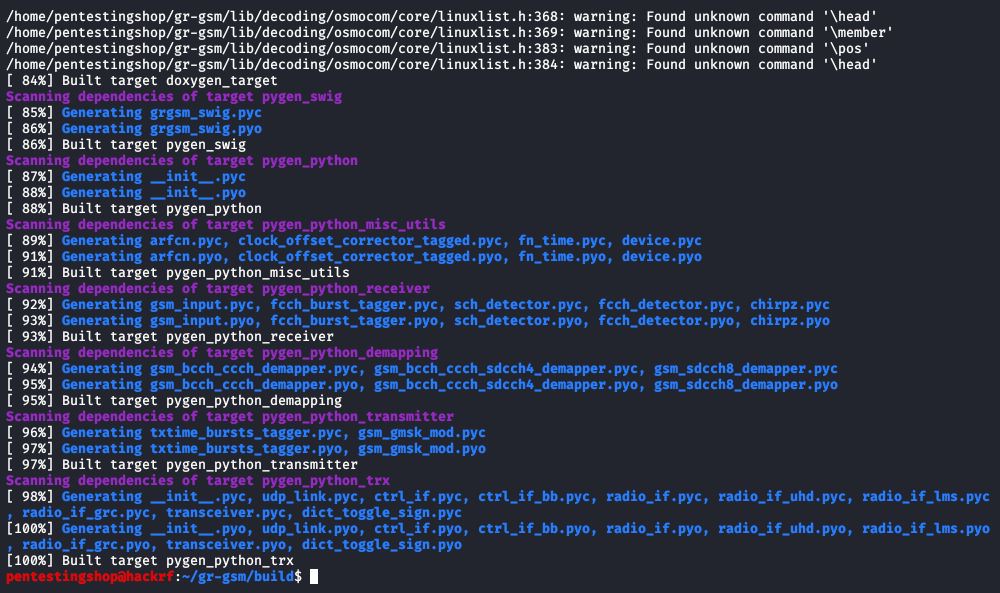
make

after you typed or pasted that command press ENTER.
and should see something like this when it’s done:
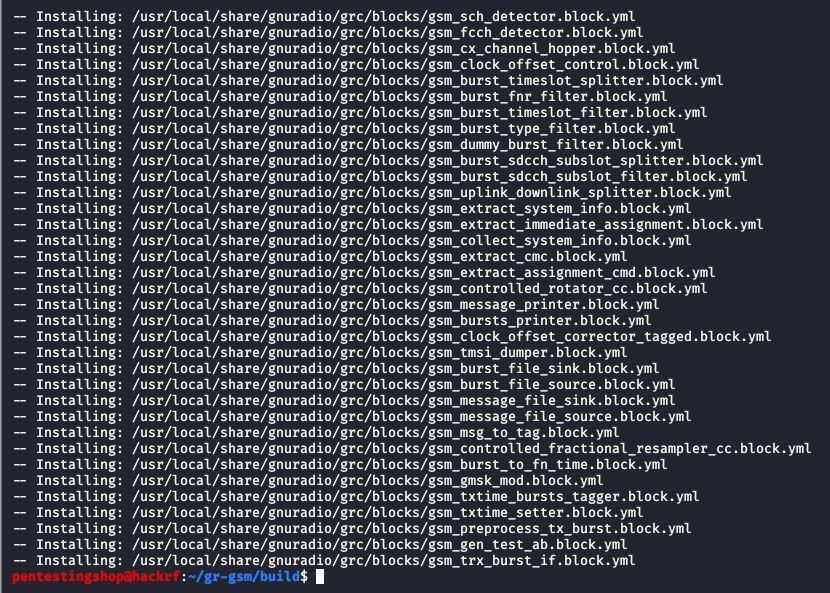
next thing is to install all the compiled tools, u do this with the following command (make sure u run it with sudo):
sudo make install

and then press ENTER.
and should end with this:
After that’s all done run the last command in this window:
sudo ldconfig

and press ENTER.
Now that this is done, we just need to add a location into the bashrc file.
you do this with the following command:
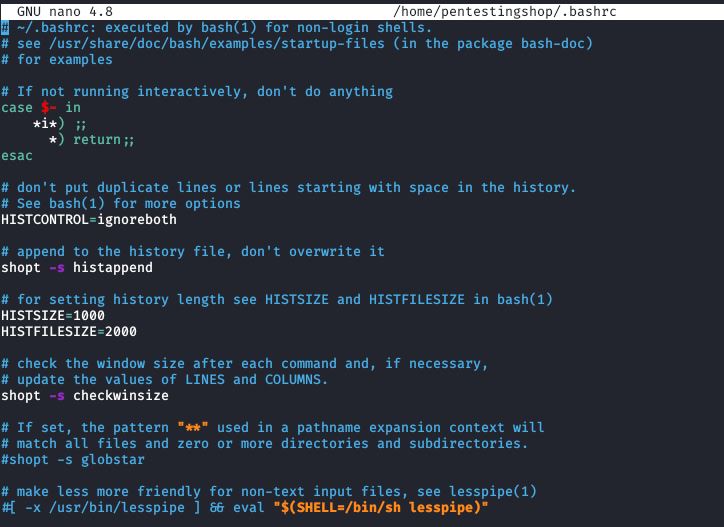
sudo nano ~/.bashrc

and press ENTER.
u should then see a file like this:
now use the down arrow or Page Down button on your keyboard to go to the end of the file.
and add the following line to it:
export PYTHONPATH=/usr/local/lib/python3/dist-packages:$PYTHONPATH
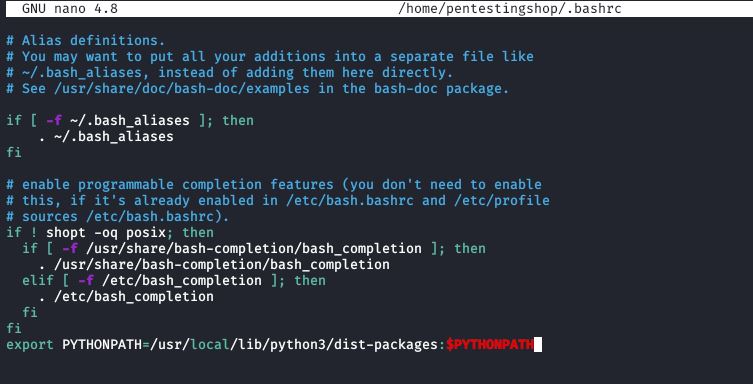
so that it looks like the picture above.
Next save it by pressing CTRL+O and then ENTER.
next close the file with CTRL+X
Now close the existing terminal.
This is needed cause otherwise the bashrc file is not reloaded.
Install the IMSI-Catcher
Open a fresh terminal window.
U should know how to do it right now 🙂
and enter the following command:
git clone https://github.com/Oros42/IMSI-catcher.git

after that press ENTER.
and u should get this:

That’s done.
We need this later in the tutorial.
next we are also going to install Kalibrate for HackRF to find frequency’s for sniffing the IMSI’s.
Install Kalibrate-HackRF
We are going to clone that also in the using git.
you do this with the following command:
git clone https://github.com/ckuethe/kalibrate-hackrf.git

after that press ENTER.
and you should see something like this:

now go into that directory with the following command:
cd kalibrate-hackrf/

and press ENTER.
now copy and paste the next command into the terminal window:
./bootstrap && CXXFLAGS='-W -Wall -O3' ./configure && make
remove amp;after every &

and press ENTER.
u should then see this:
next we need to install kalibrate.
u do this with the following command:
sudo make install

and press ENTER.
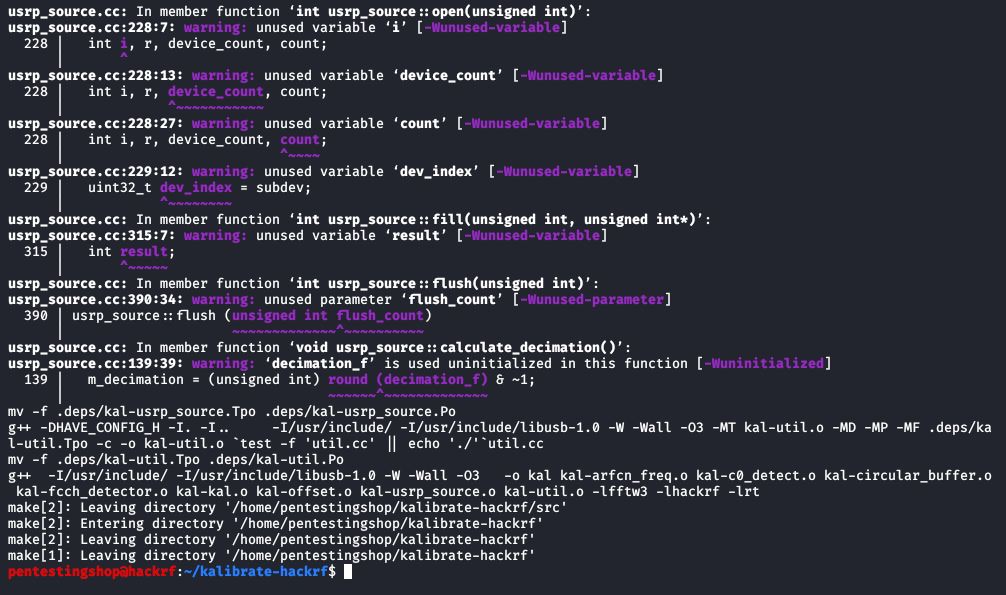
and u should see this:

You are now Finished installing everything needed to start sniffing IMSI’s.
Using Kalibrate-HackRF to find gsm frequency’s
So now we can start playing.
Lets find some frequency’s that we can later on use to scan for imsi’s.
so open a terminal window and paste or type the next command:
kal -a 1 -g 40 -l 40 -s GSM900

and press ENTER.
now the scanning begins and you should see something like this:
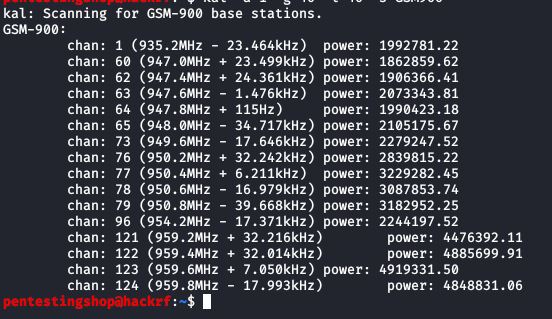
write down a frequency u see here.
like 947.6MHz
a bit more about kalibrate
these are the options i used:
-a 1 is for enabling the Amplifier of the HackRF
-g is the vga gain in dB
-l is the lna gain in dB
-s is the band to scan ( GSM850, GSM-R, GSM900, EGSM, DCS, PCS)
So that’s everything u need to know about this.
let’s go to the next step and really start finding IMSI’s.
Catching IMSI
open an new terminal window and type the following command:
grgsm_livemon

and press ENTER.
u should then get this:
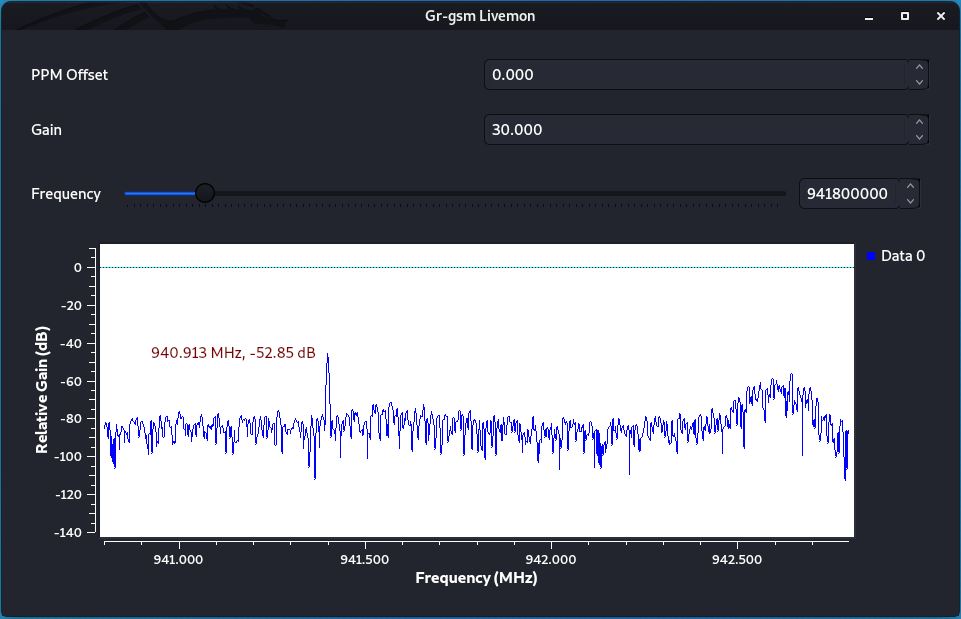
u see i already see a signal there on the right side in the spectrum.
but i’m going to change some things.
change the Gain to 40.000

and change the frequency to one you found earlier with kalibrate.
i’m going to set mine to 940600000

after u changed the frequency to a good signal u should see something like this in the terminal window where u ran the command:
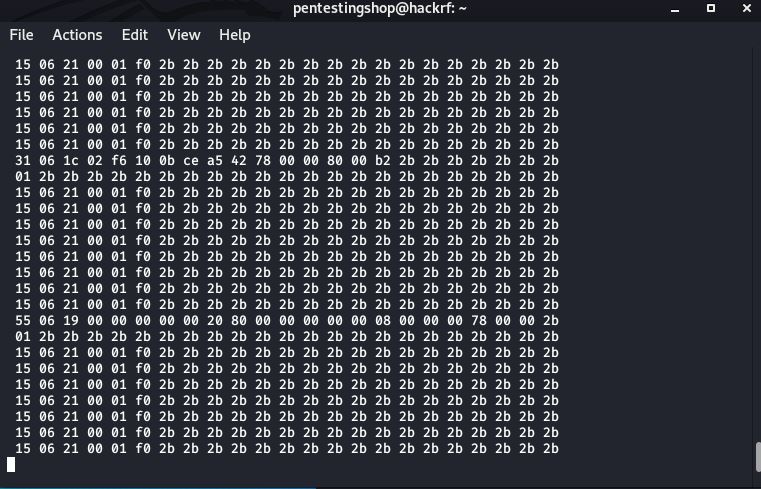
if you see this then your good to go.
and start logging imsi’s
so open up a new terminal window (don’t close the one you have running)
and run the following commands:
cd IMSI-catcher/

and press ENTER.
after that we can start the IMSI-catcher python script with the following command:
sudo python3 ./simple_IMSI-catcher.py --sniff

and press ENTER.
you should then see this after a while:
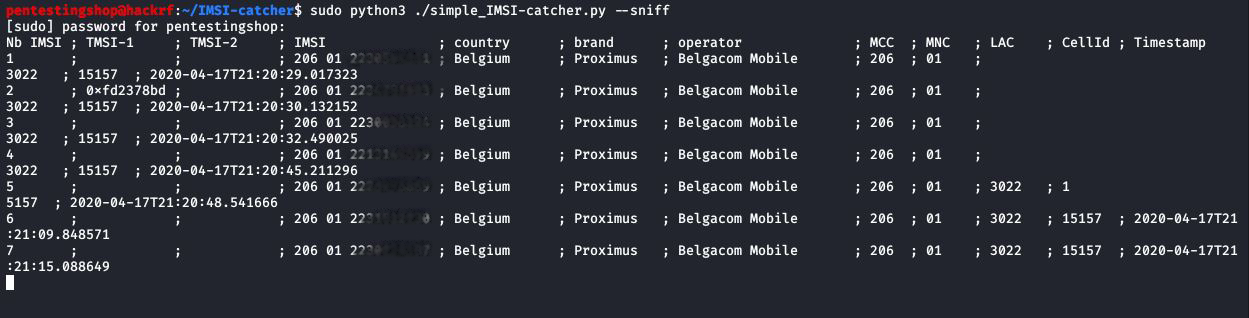
There you go 🙂
These are indeed only from one Operator,cause i tuned to that frequency only.
USE THIS ONLY FOR TEST PURPOSE AND NOT TO DO BAD THINGS!