

Uncategorized
How to install Kali Linux in VMware Player
This tutorial will walk you through the process of installing Kali Linux in VMware Player, a free virtual machine manager that can be downloaded from www.vmware.com
This tutorial assumes that you have some basic knowledge of your computer
- amount of RAM
- number of processor cores
- etc
This tutorial is intended for beginners who haven’t worked with VMware or Kali Linux before.
Step One:
First we need to download Kali from http://kali.org/downloads/.
If you have a 64-bit capable computer (like me), then you probably will want the 64-bit version of Kali for performance reasons.
If not choose the 32-bit version
Click on the ISO button like show below:
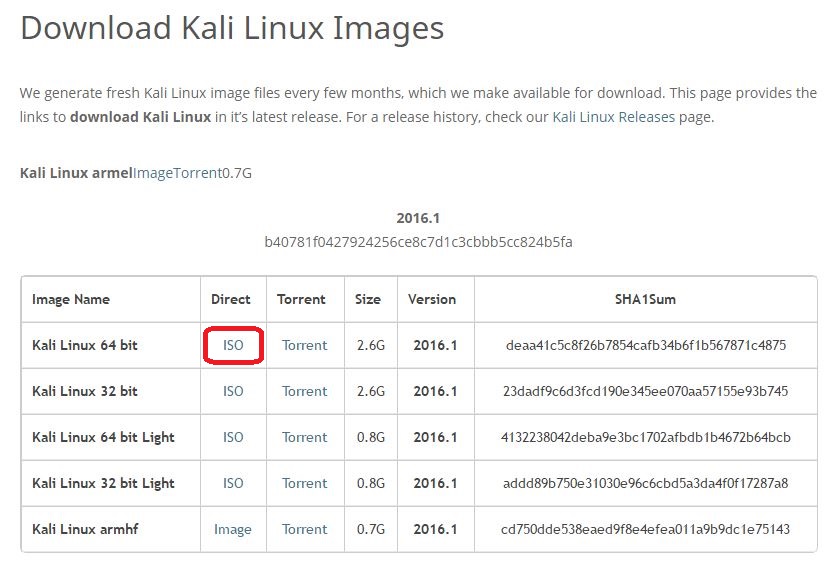
Choose a location where u want to save the ISO file, and remember where u save it!(Normally standard in your User\Downloads Folder)
Now wait for Kali to download, this might take a while, depending on your internet speed.
Step Two:
Now while Kali is downloading lets start downloading the Vmware Player from www.vmware.com
Below in picture is show where it can be found on the website
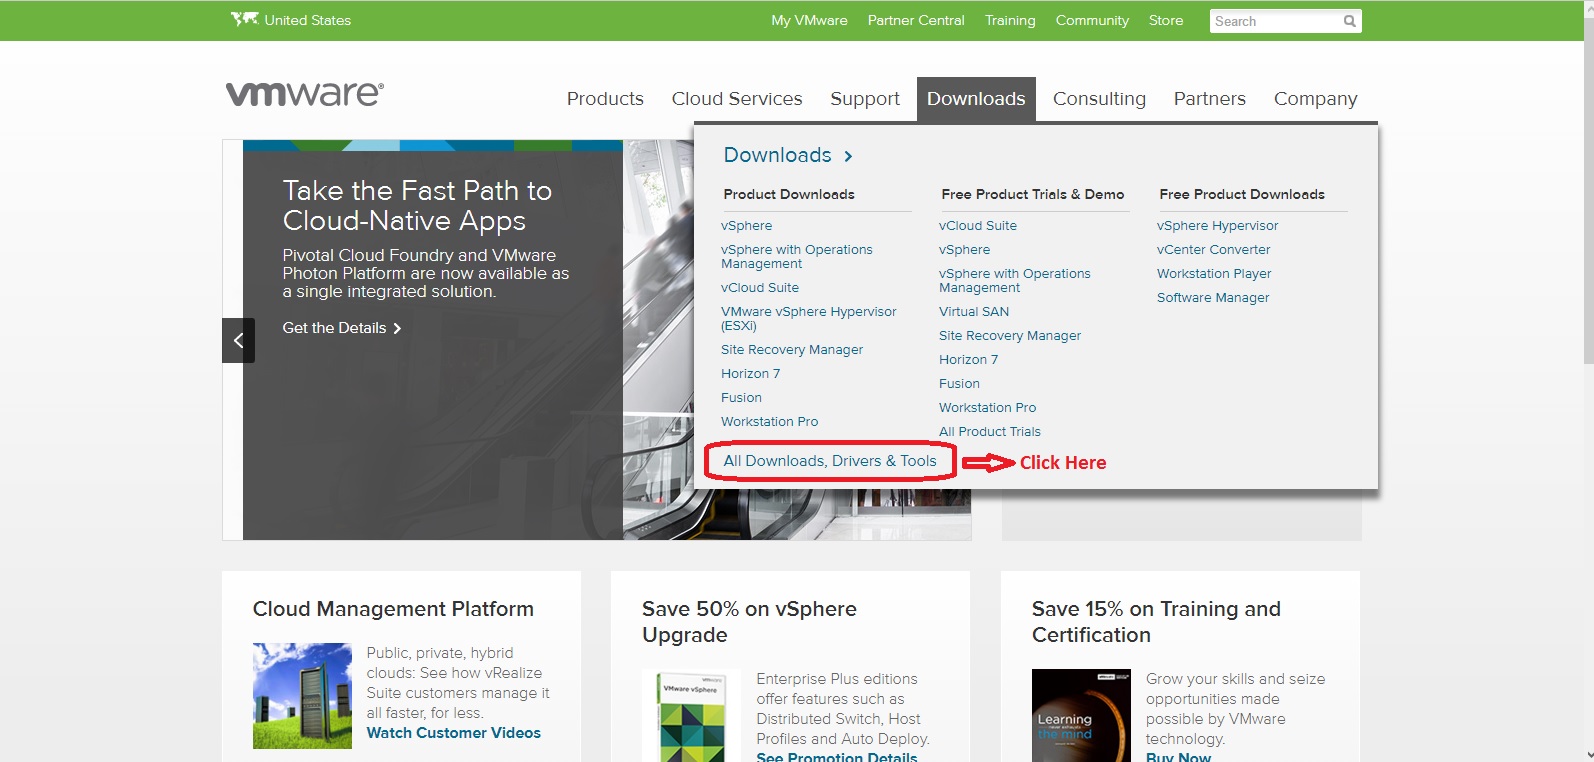
Click on All Downloads, Drivers & Tools
And then scroll down almost to the end and locate Vmware Player
Like in picture below

And Click Download Product
U will then be redirected to this page
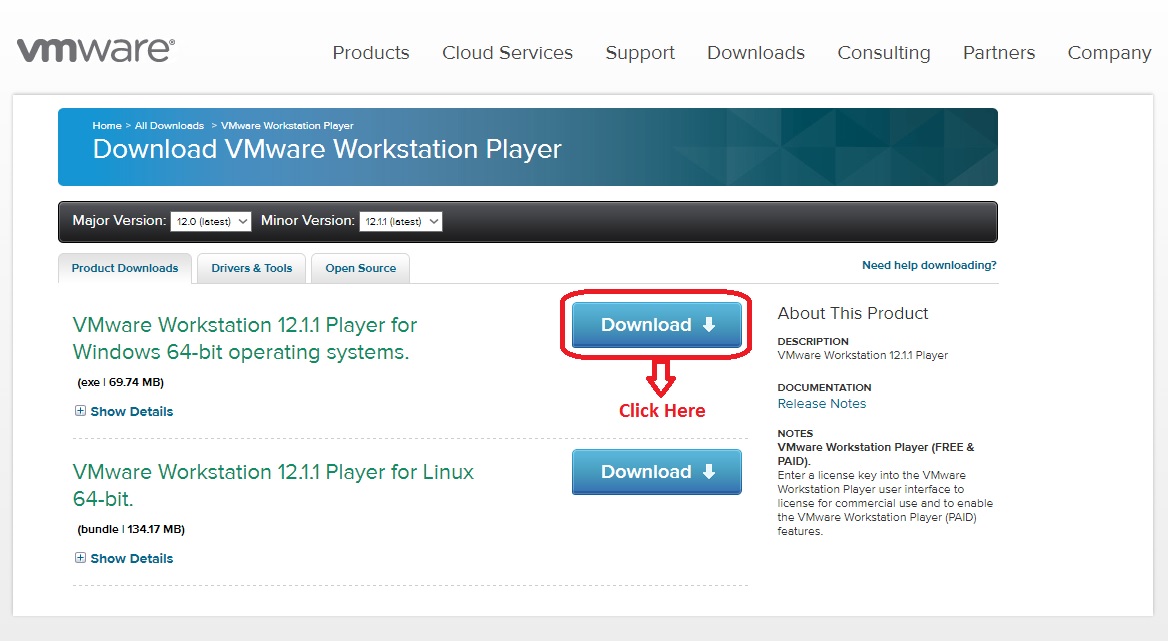
Click the big Blue Download button and also choose a location where to save it.
Step Three:
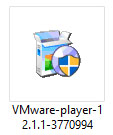
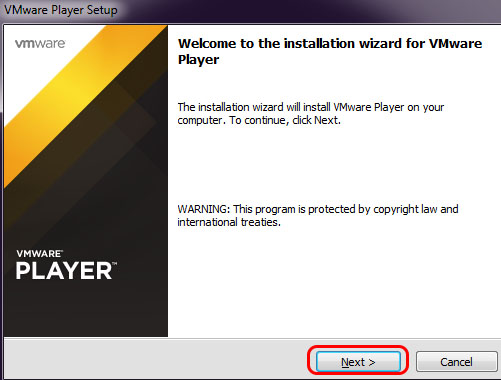
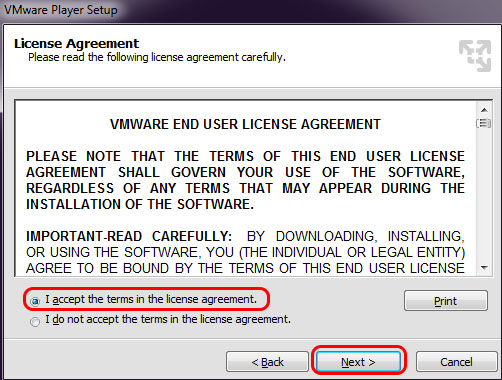
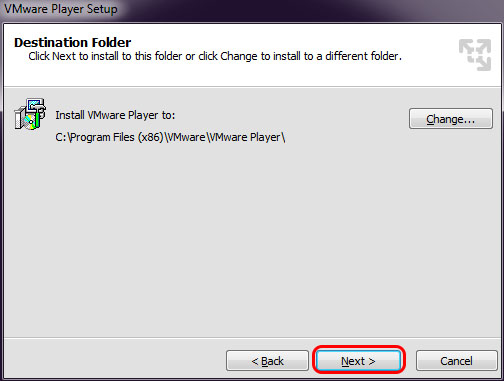
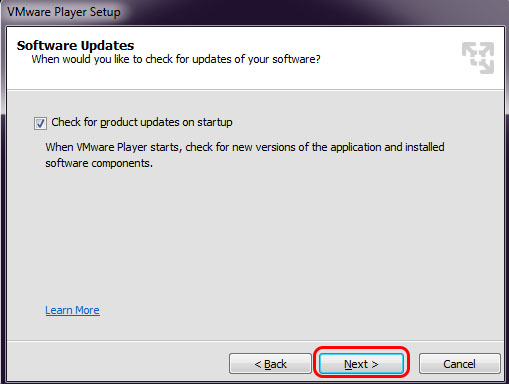
Now that u downloaded the VMware Player browse to the location where you saved it and double click the icon
And follow along with the pictures below
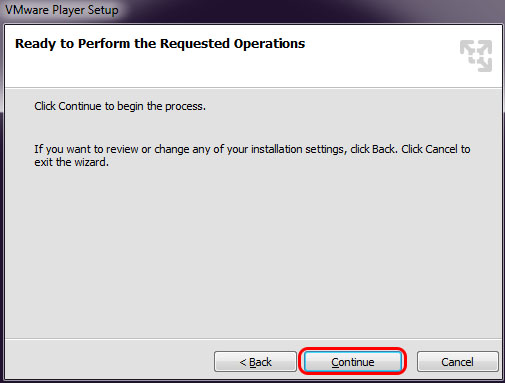
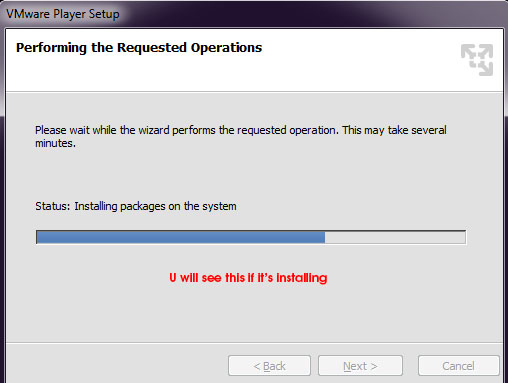
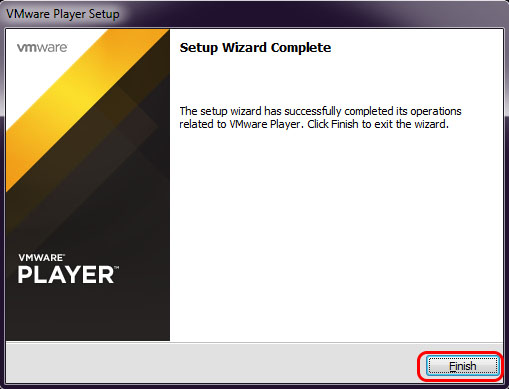
Now installation of VMware Player is Done 🙂
You should now see this icon on your Desktop
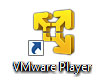
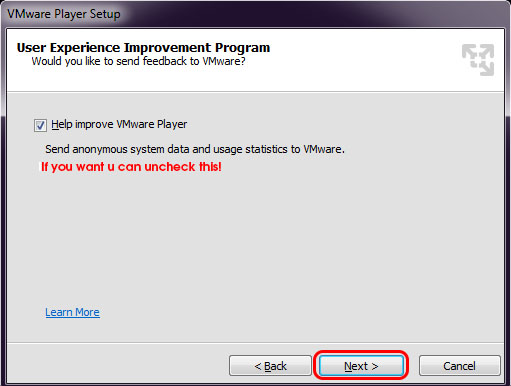
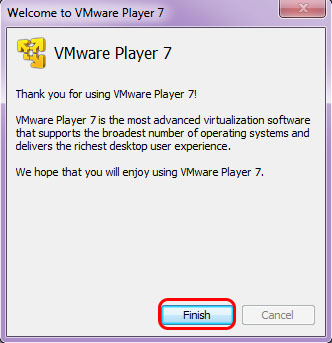
Double click on it and you should get this message

Enter your e-mail address in the box and click Continue
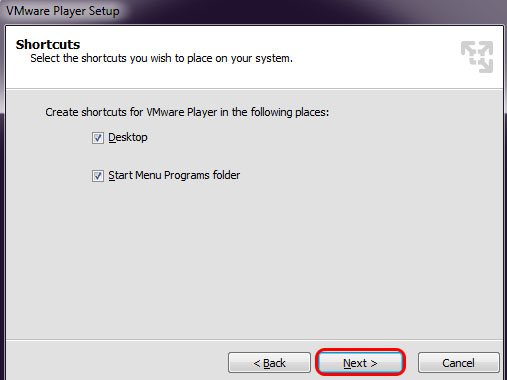
U will then see this window if you clicked Continue
Now click Finish
Step Four:
U should then get this window
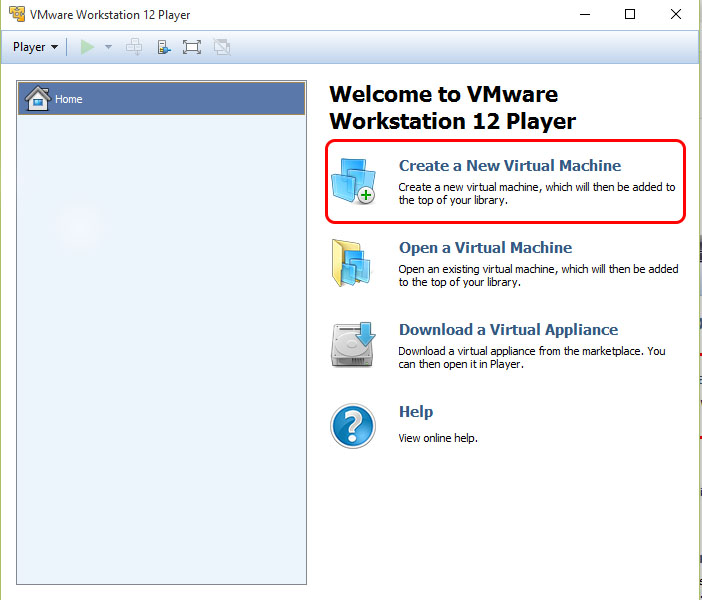
If you see this window click on Create New Virtual Machine
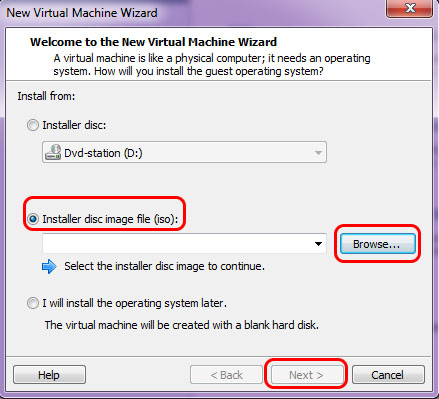
Select Installer disc image file (iso)
Click Browse
Go to the location where u saved the ISO image u downloaded from the Kali website
And click Next
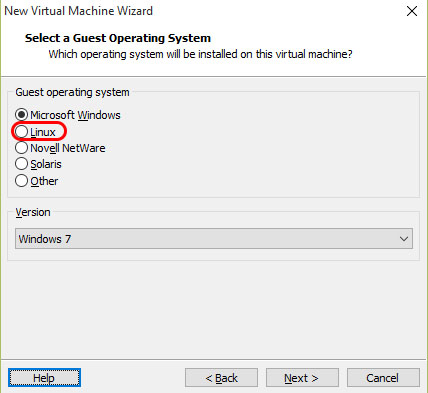
U should then get this window
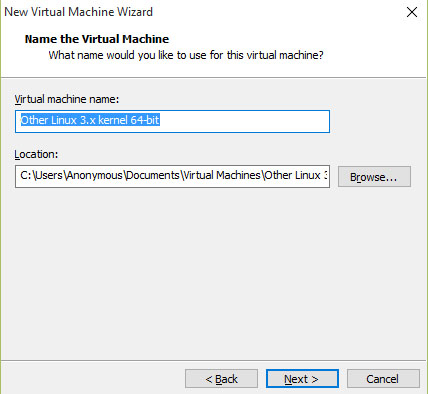
Select Linux
Next from the Dropdown menu choose Other linux 3.x kernel 64-bit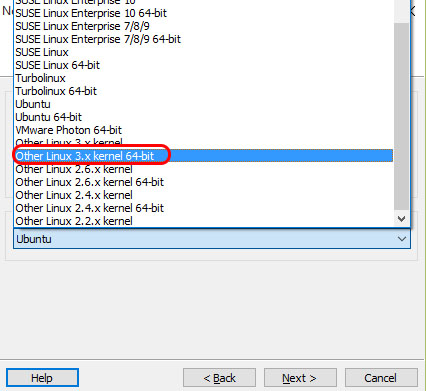
And you should then have this
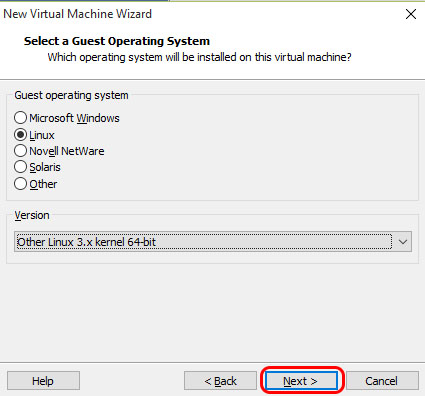
And click Next
U then come to this window
Now for easy use rename Other Linux 3.x kernel 64-bit to Kali Linux 2016.1 x64
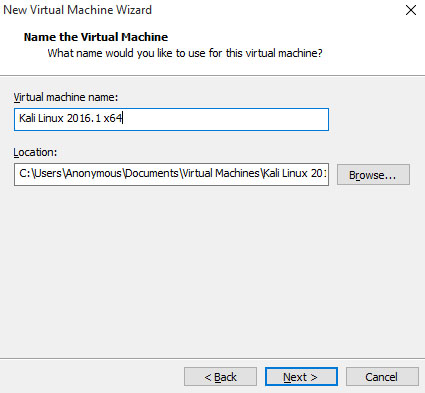
And then Click Next
If u want u can also change the Location where to save the Virtual Machine (i will keep it at this default location)
You should then get this
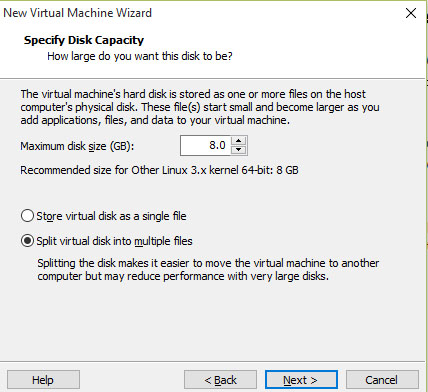
Now Default the Maximum disk size will be 8GB but change it to 60GB
and
Check the box Store virtual disk as a single file
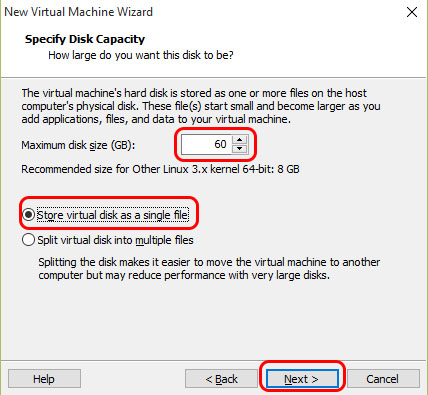
And click Next
Attention next step is very important so when u see this next window DONT click Finish yet!
But choose Customize Hardware
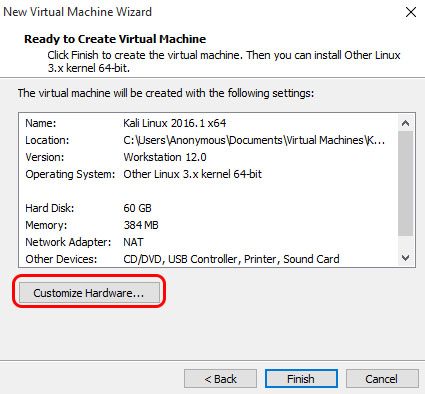
You will now be presented with this Hardware window.
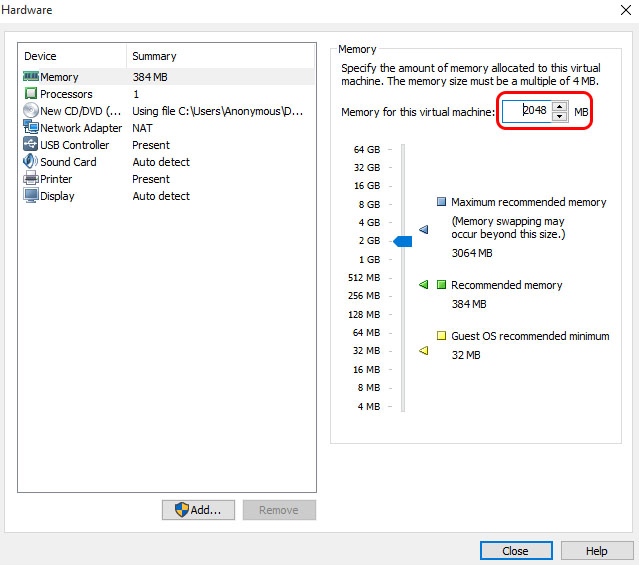
In the left pane select Memory and slide the slider on the right side to at least 1024MB.
This is for performance.
Since I have 16 GB of RAM on my computer, I’m going to put it at 2 GB’s (2048 Mb’s).
If you have 8GB of RAM in your computer u can also put this on 2048MB
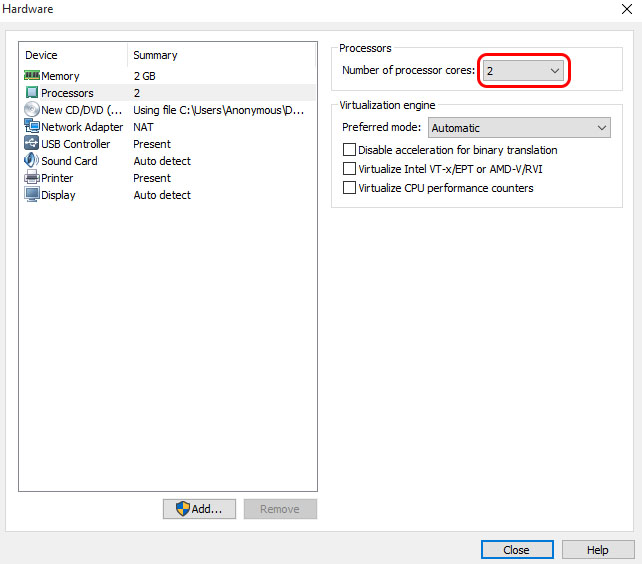
Now highlight Processors in the left pane.
This option really depends on your computer, if you have multiple core processor, then you can select two or more.
If you have a regular computer,i suggest leaving this number at one.
I have a quadcore Processor so i will use 2
Like Picture below
Now moving on, click on Network Adapter in the left pane.
On the right side, move the dot to the Bridged (top) option.
Like show here
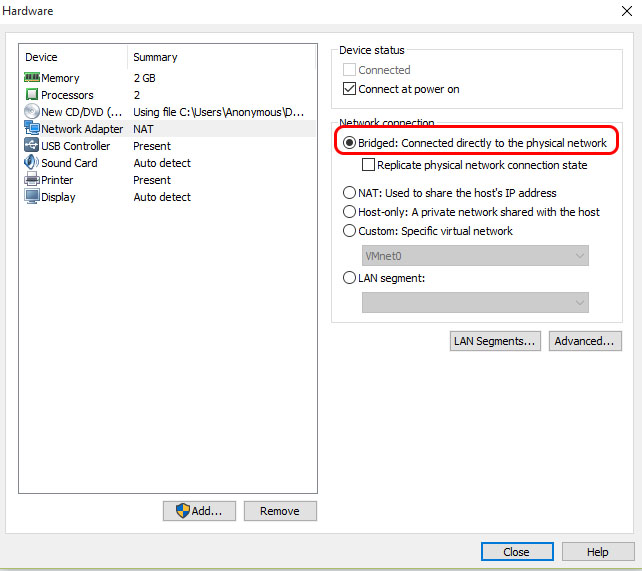
And you can now click close
And will be presented back with this window below

You may now click Finish
Step Five:
After u clicked finish it should automatically start the Virtual Machine
And you should be presented with this window below
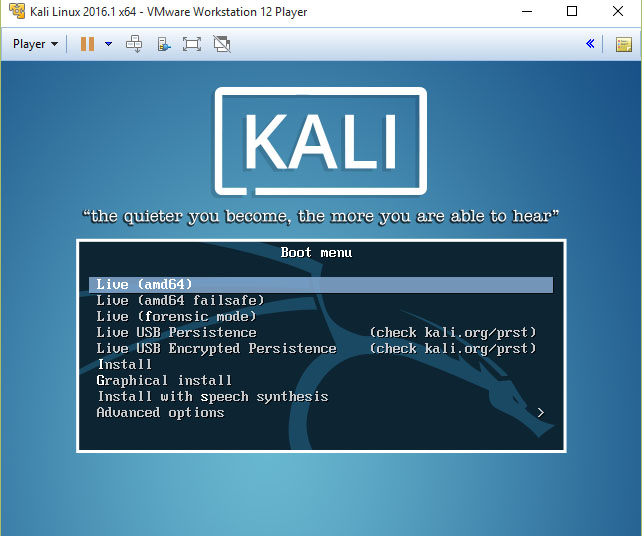
Now DONT press Enter yet
Click in the window and keep pushing the down arrow on your keyboard until you see Graphical Install
Like shown here
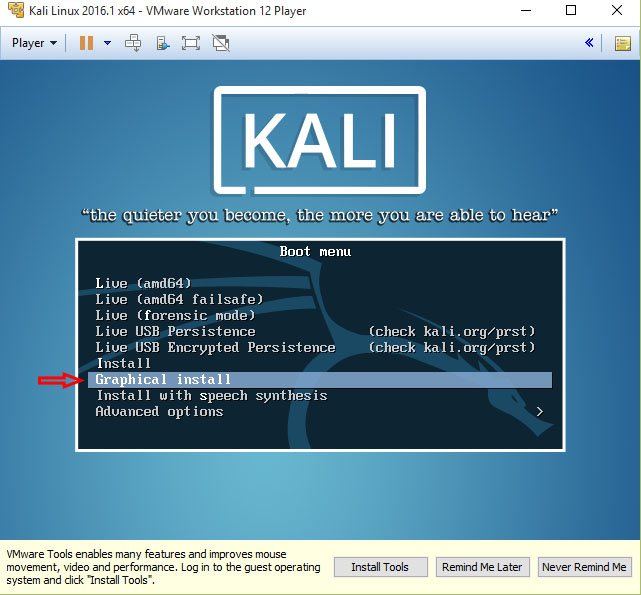
Now that u listed Graphical Install u can press Enter
And should be presented with the following window
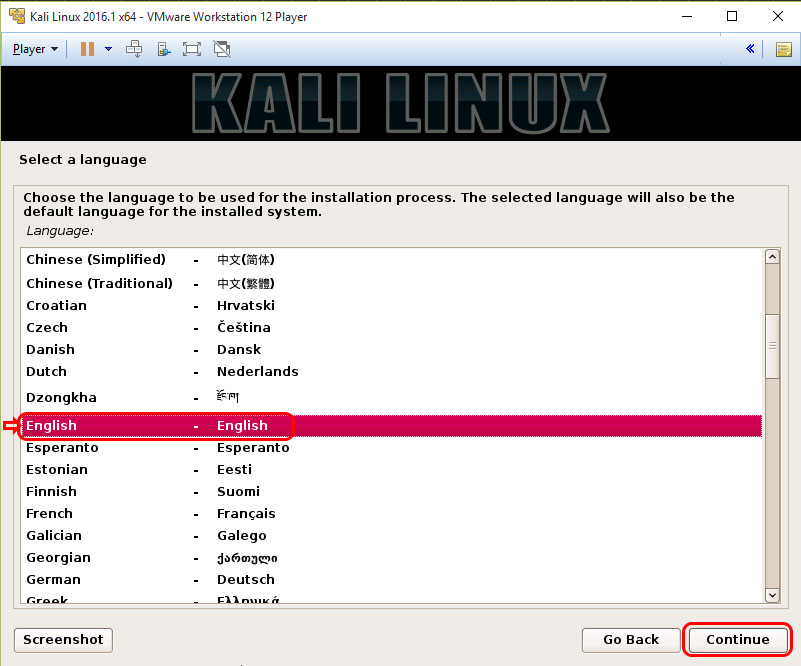
Here you choose your Language u want your Kali linux to be
Followed by Continue
And should then get this
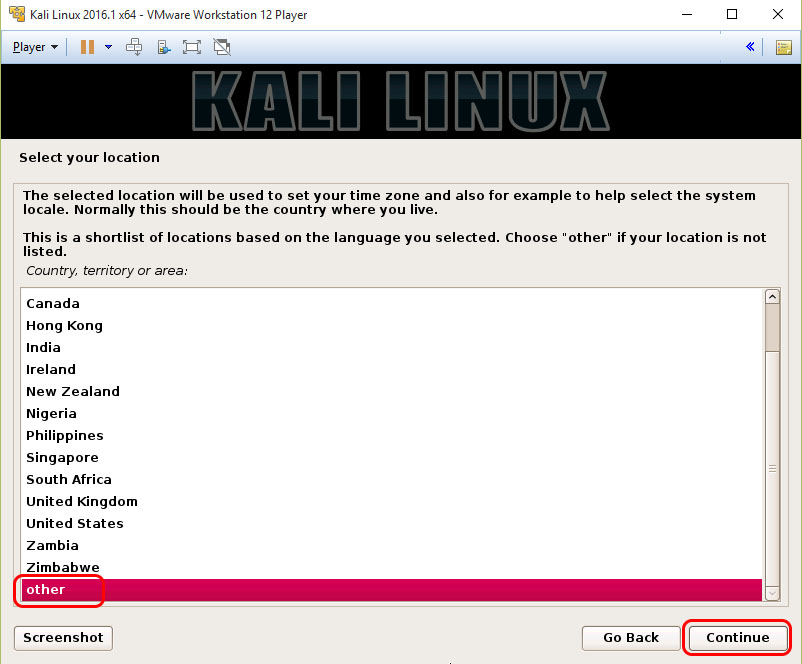
Here you choose your Location, since i’m in Europe i choose other
And press Continue
And should then see this
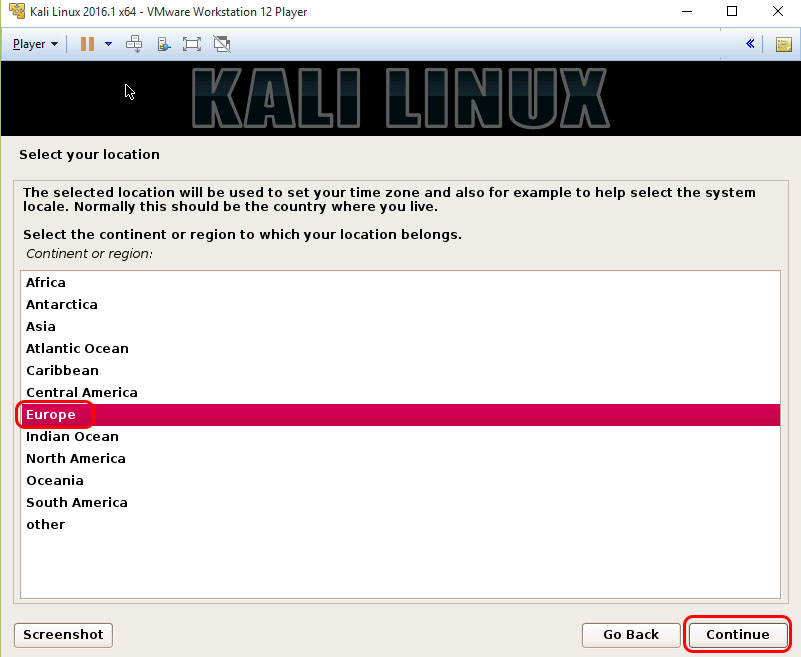
So now here i choose Europe for my location and Click Continue
U should then be presented with this window
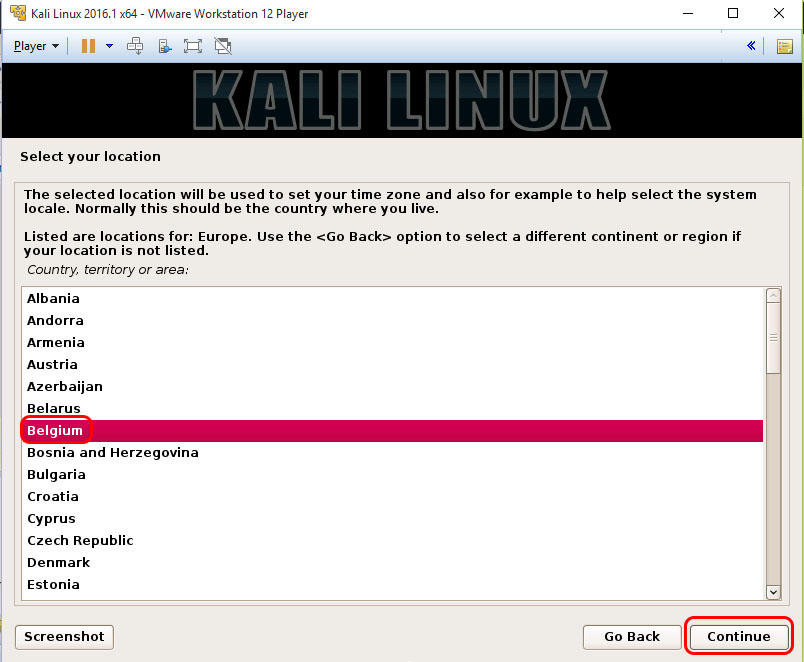
Since i’m from Belgium i choose it here and Click Continue
U should choose a location that suits yours and click Continue
u should then get this following window

Leave this on United States – en_US.UTF-8
And click Continue
U will get the following window
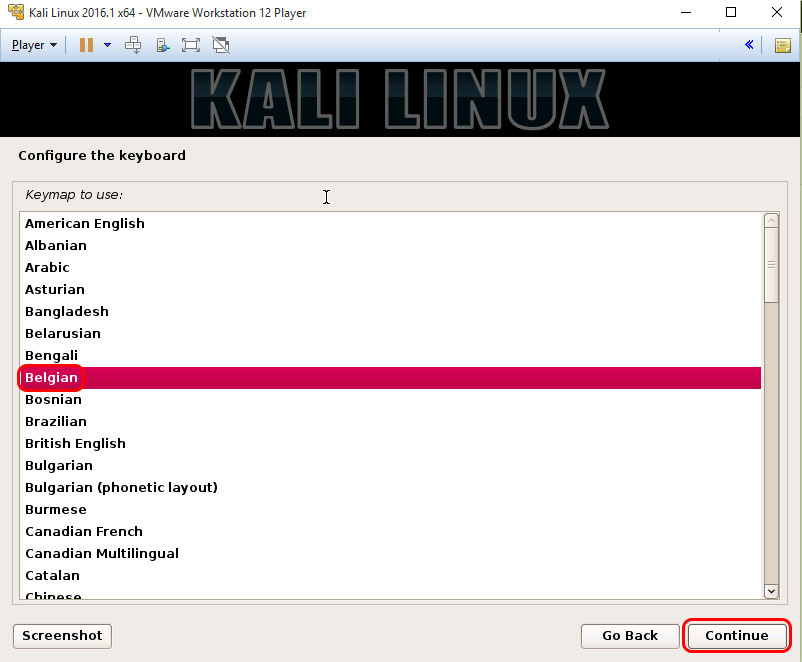
Again since i’m from Belgium and have a AZERTY keyboard i choose Belgian and click Continue
U should choose the one that suits you and click Continue
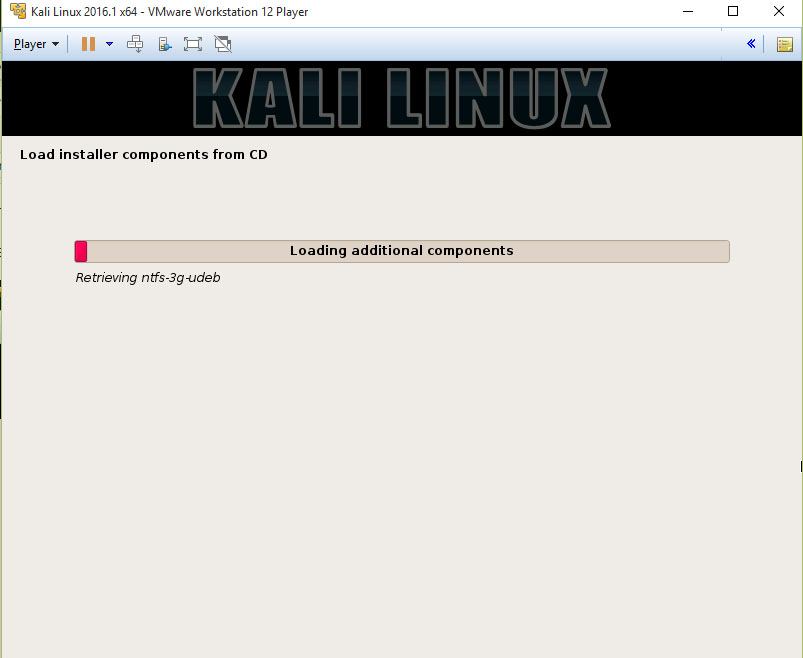
And you will see the following things happening

And then come to this window below
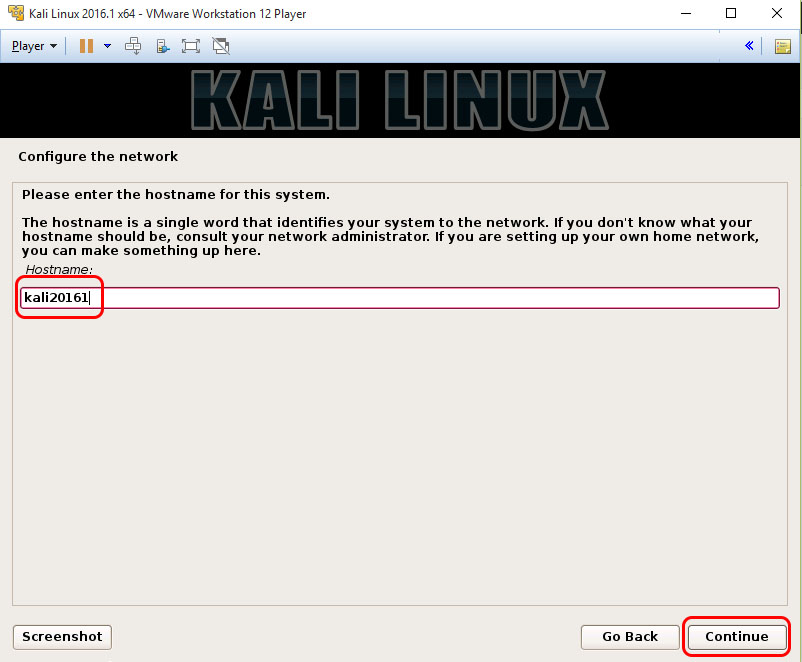
Here you can change the name your system will have on the network
I will name it kali20161 u can choose whatever you want and click Continue
u should then get the following window
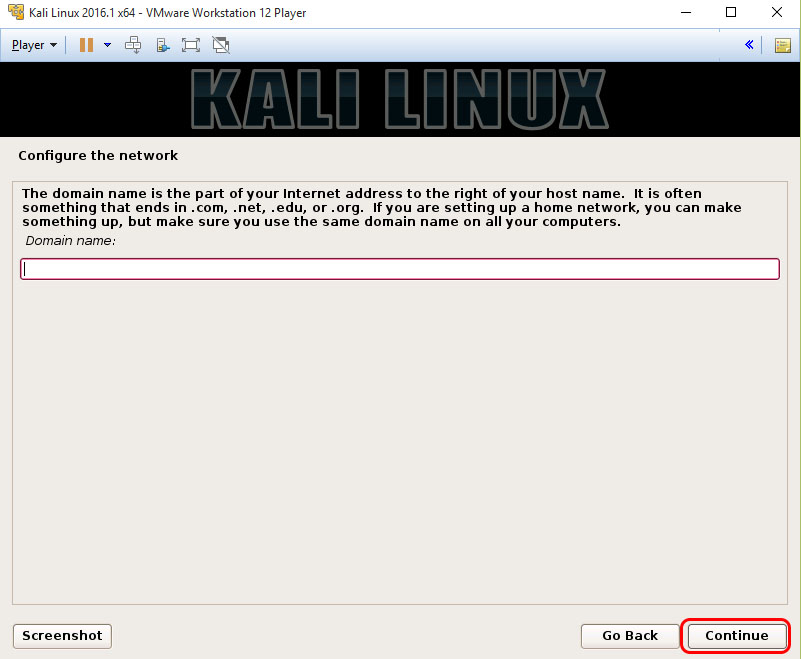
Leave it Blank and click Continue
Then next the following window will show
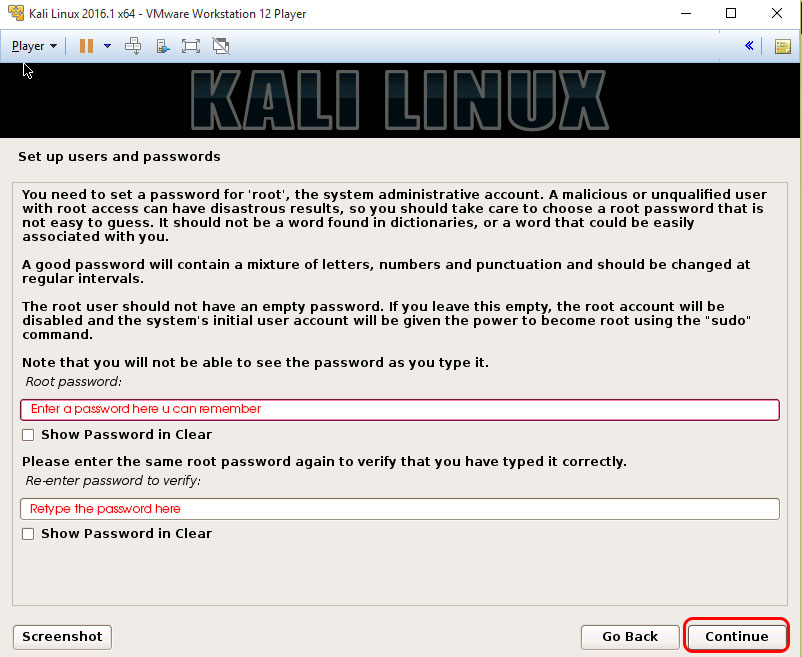
Enter a Password for the Root account and click Continue
Next u will have this window presented
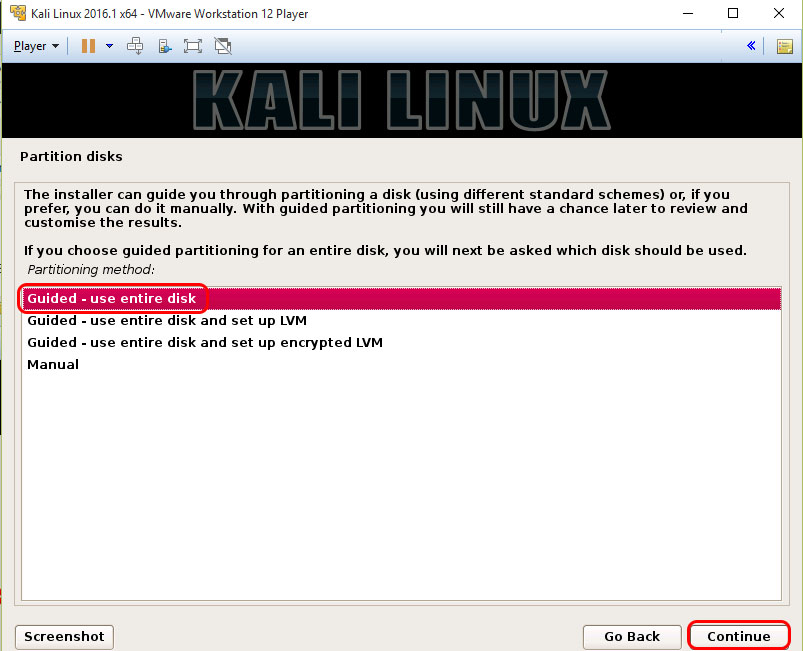
Leave this on Guided – Use entire disk and click Continue
u then get this
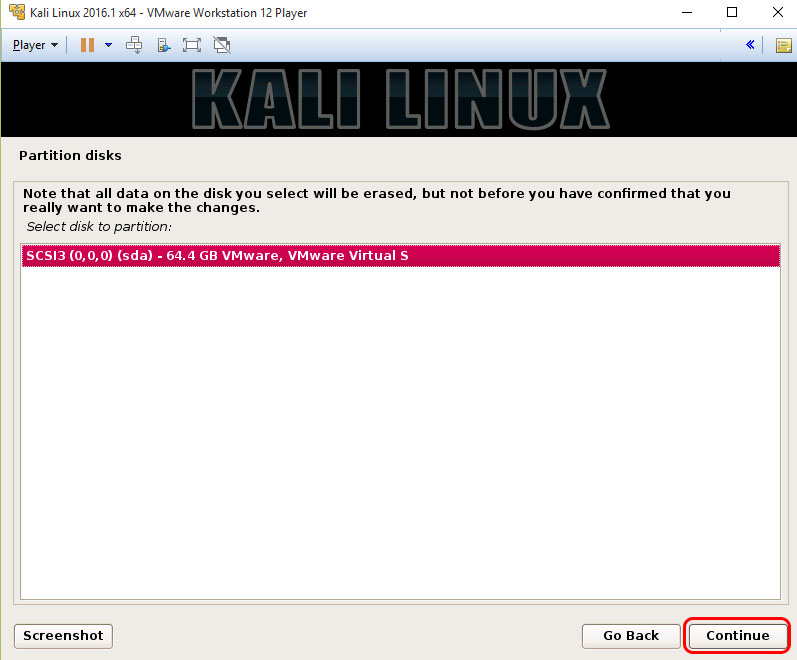
Since we choose before for a 60GB disk space for the Virtual Machine u see it now here as 64.4GB this is normal
so just click Continue
and u will get this window
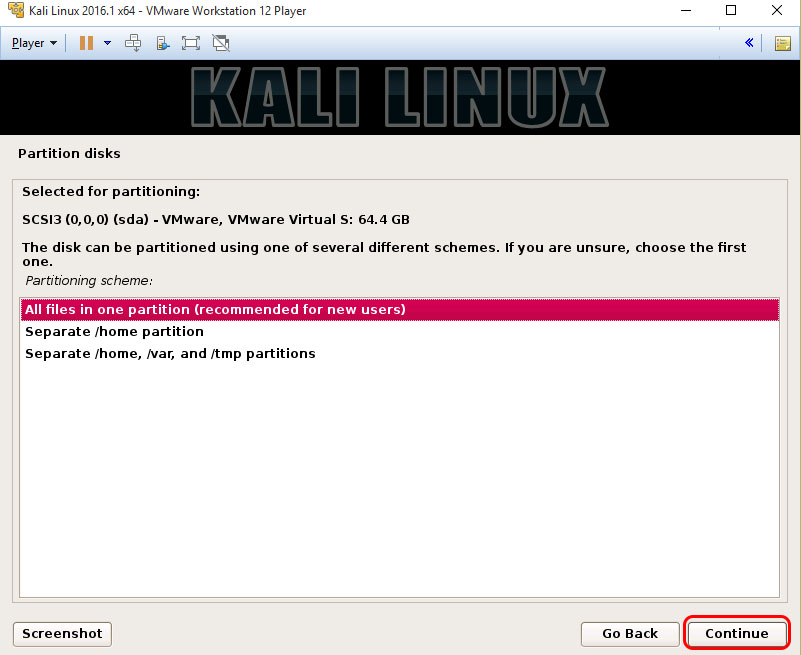
We will leave this at default All files in one partition (Recommended for new users) and click Continue
u will then get the following windows

Leave a settings as they are and just click Continue
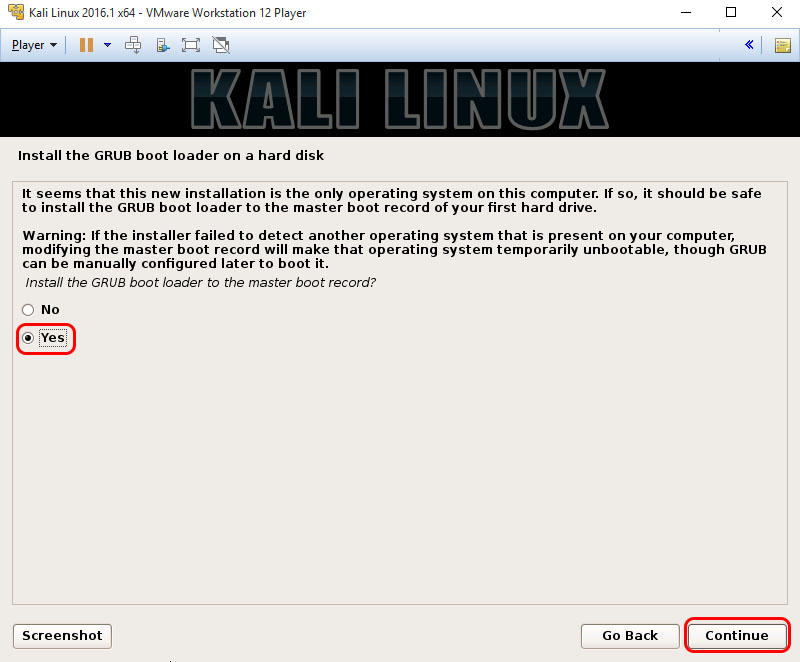
U will no see this next window
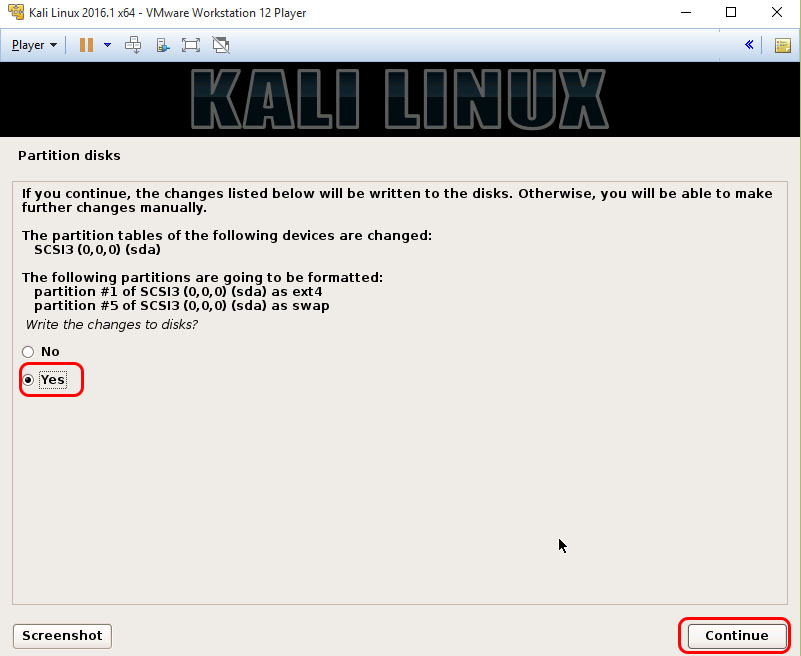
Check the Box YES and click Continue
This will be the Final step before it’s installing
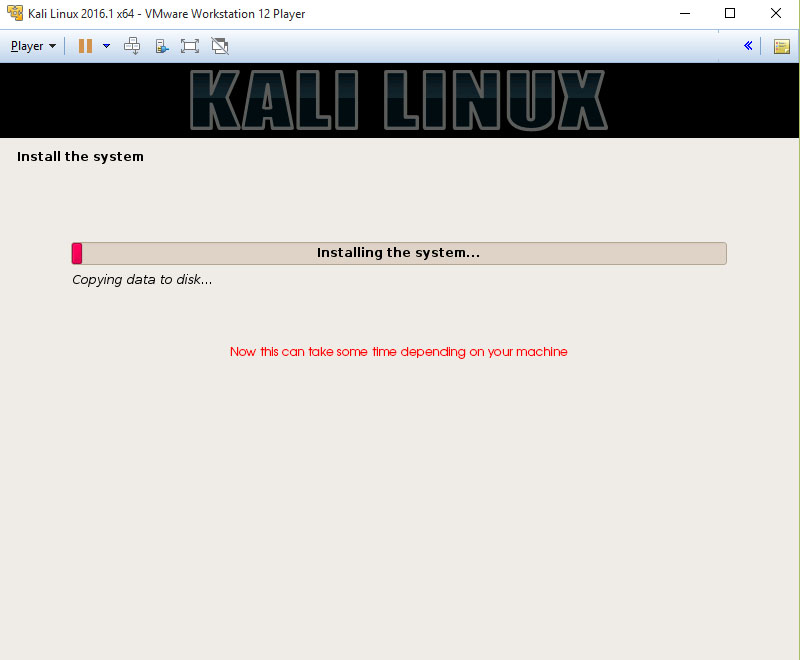
Now your installing Kali linux
It’ can take some time depending on your machine’s performance
After it’s all done u should see the following window
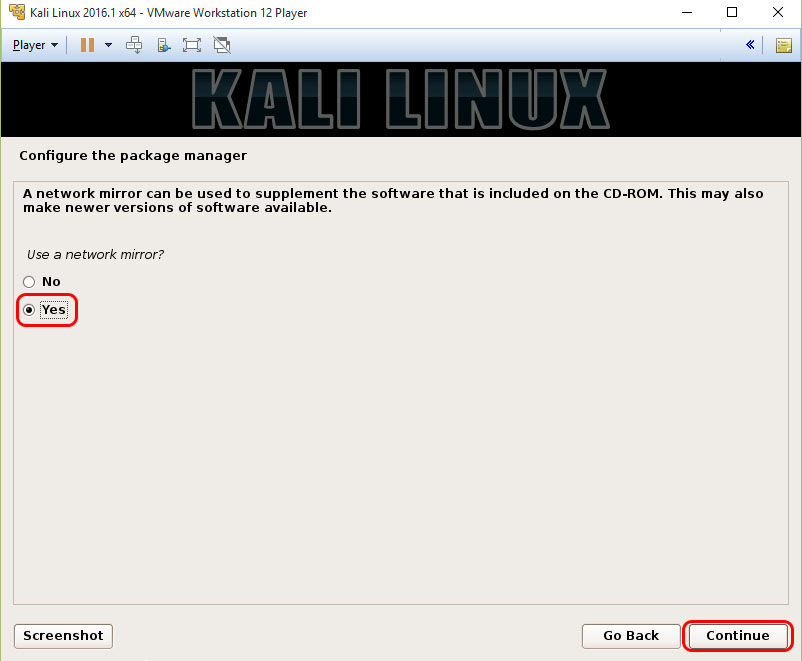
Check the YES box and click Continue
U will need this for adding the default repositories for downloading things later
U will next see the following window

Leave it blank and click Continue
U should now see the following window
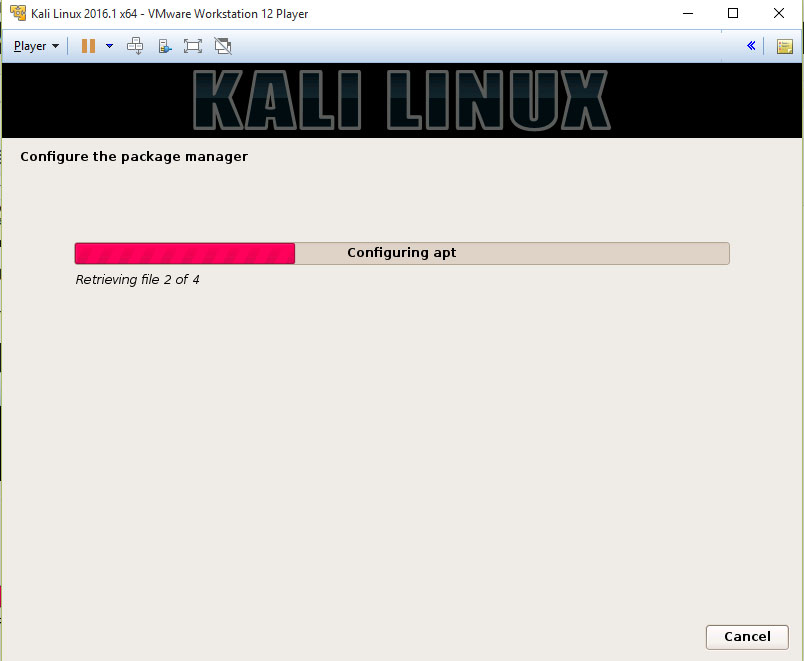
Now it’s configuring the Package Manager (Repositories) so standby and wait for this following window
Make sure the checkbox Yes is checked and click Continue
U should now see the following window pass by

And then this window
Click Continue
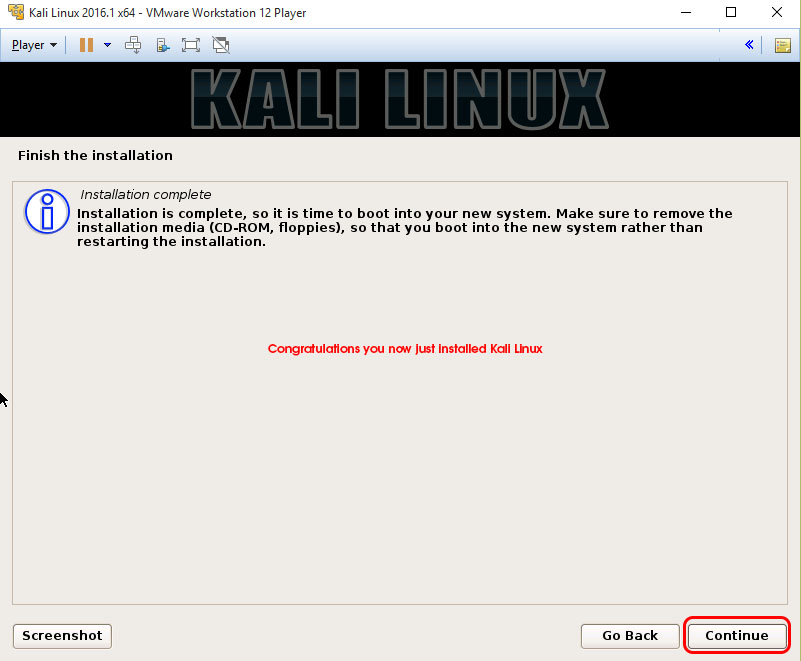
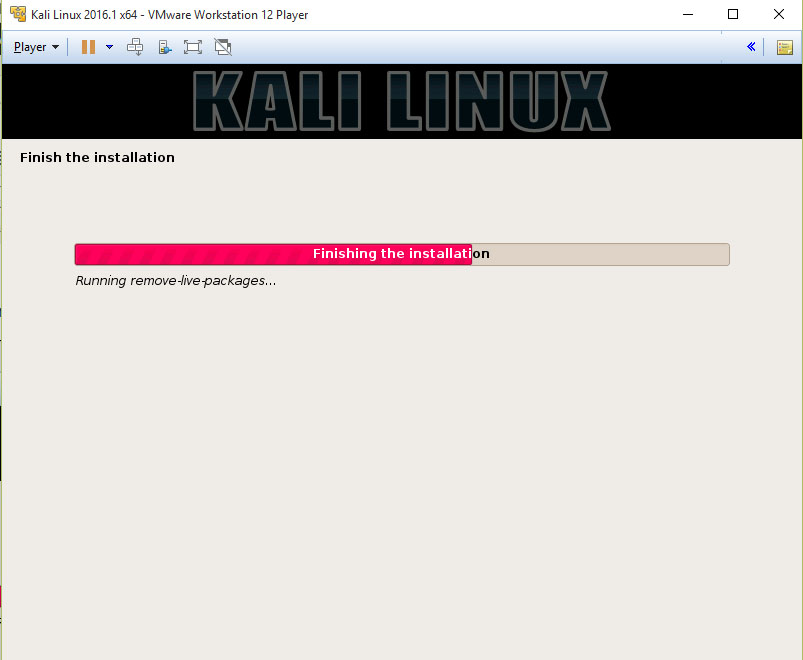
And u should now see following window with Finishing the installation
Congratulations u now successfully installed Kali linux in a Virtual machine 🙂
And it should automatically reboot and u may see this window below flash by
it automatically goes further after 5seconds or otherwise press Enter
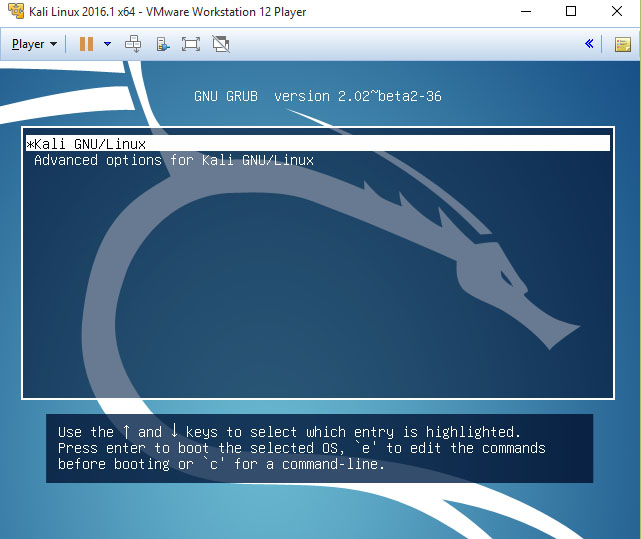
And next u should be booted in to Kali Linux like in window below
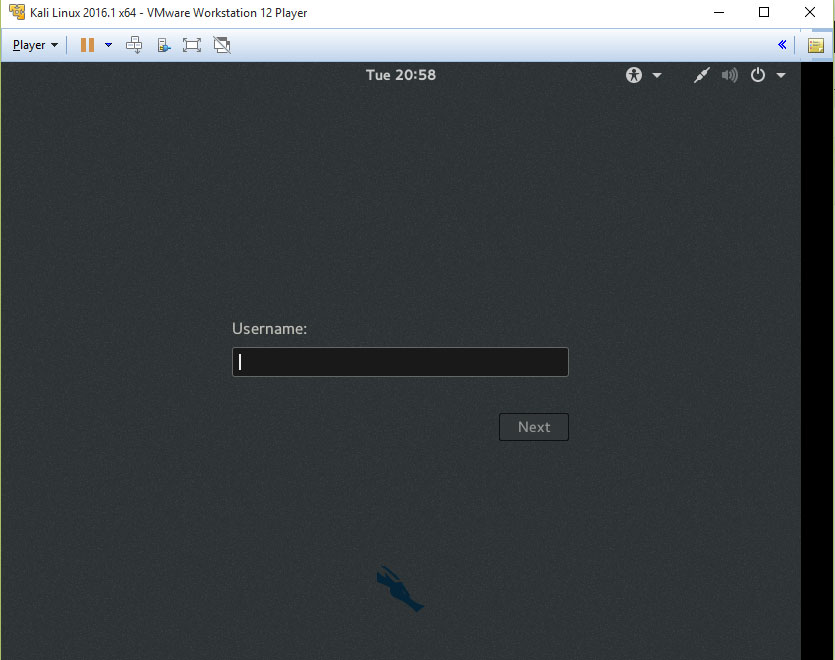
Now click in the box
and Enter root
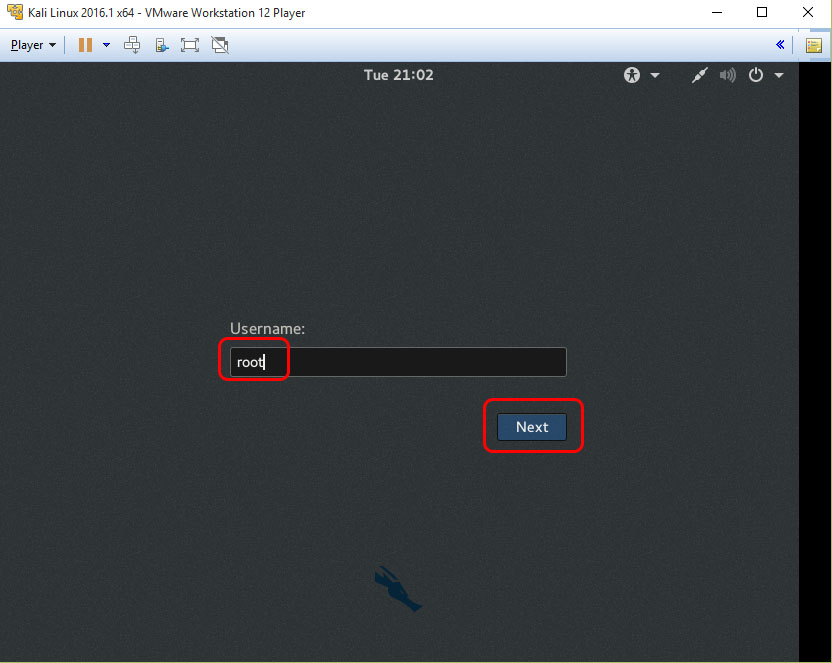
Now enter click on Next
and should get this
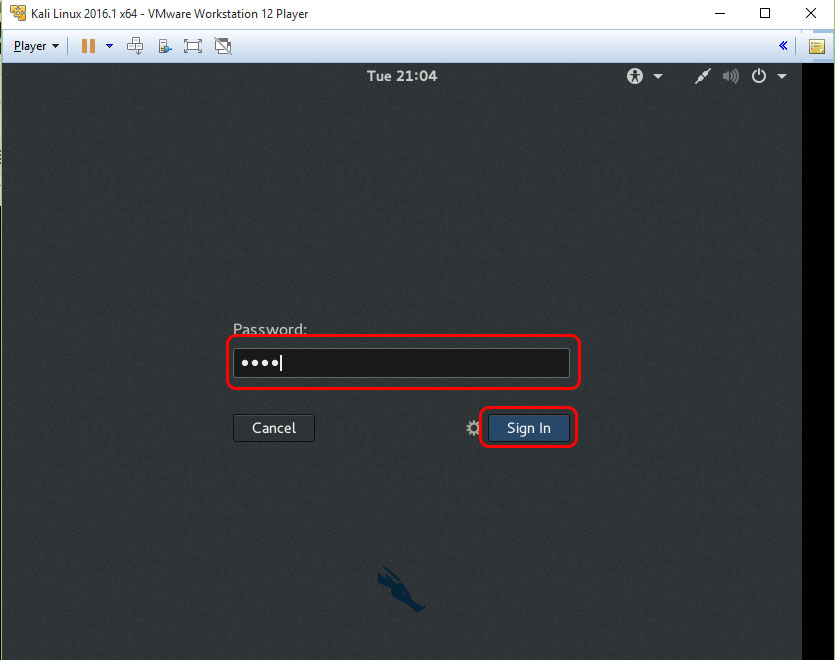
Now enter the password u gave up during the install and click Log In.
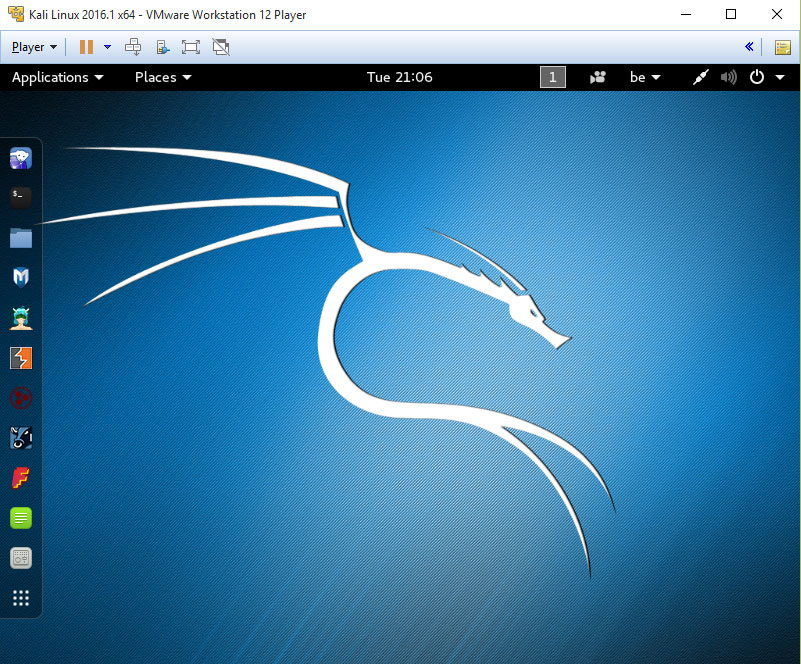
Congratulations u now booted into Kali linux for the first time 🙂
U can now follow my next guide on how to Install VMware Tools HERE